Sewing a Pierre Cardin Thanksgiving Outfit
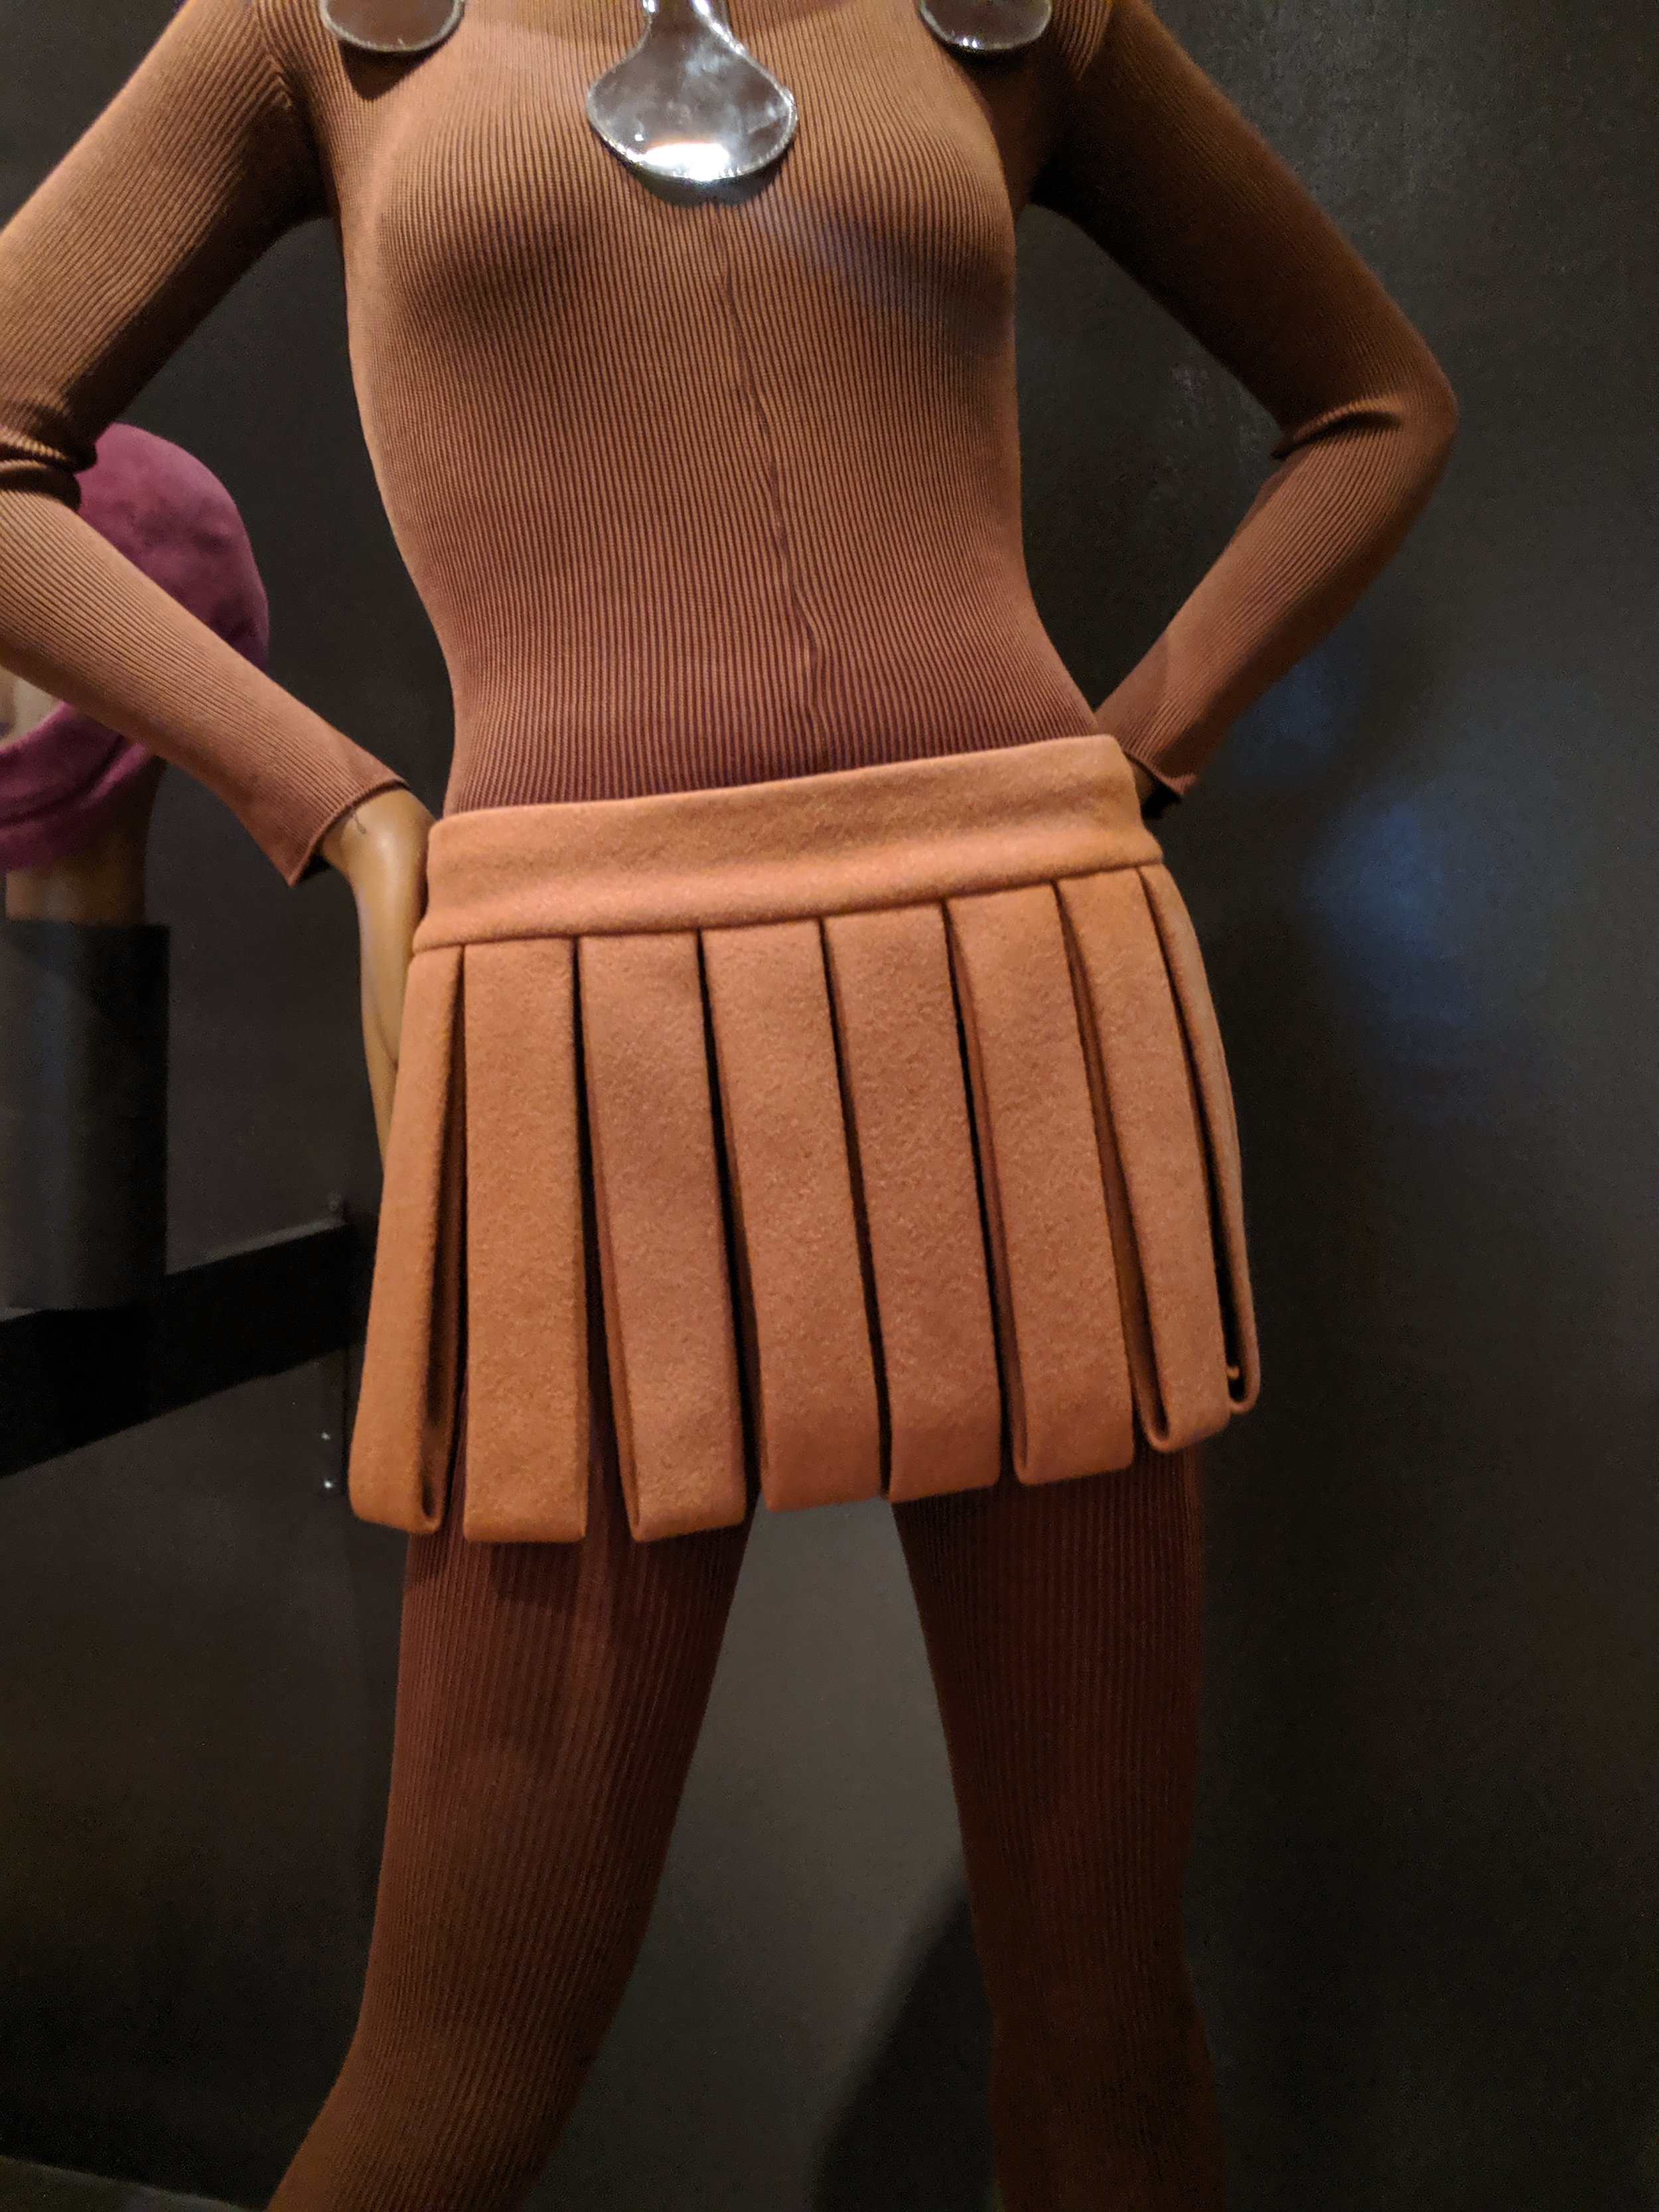
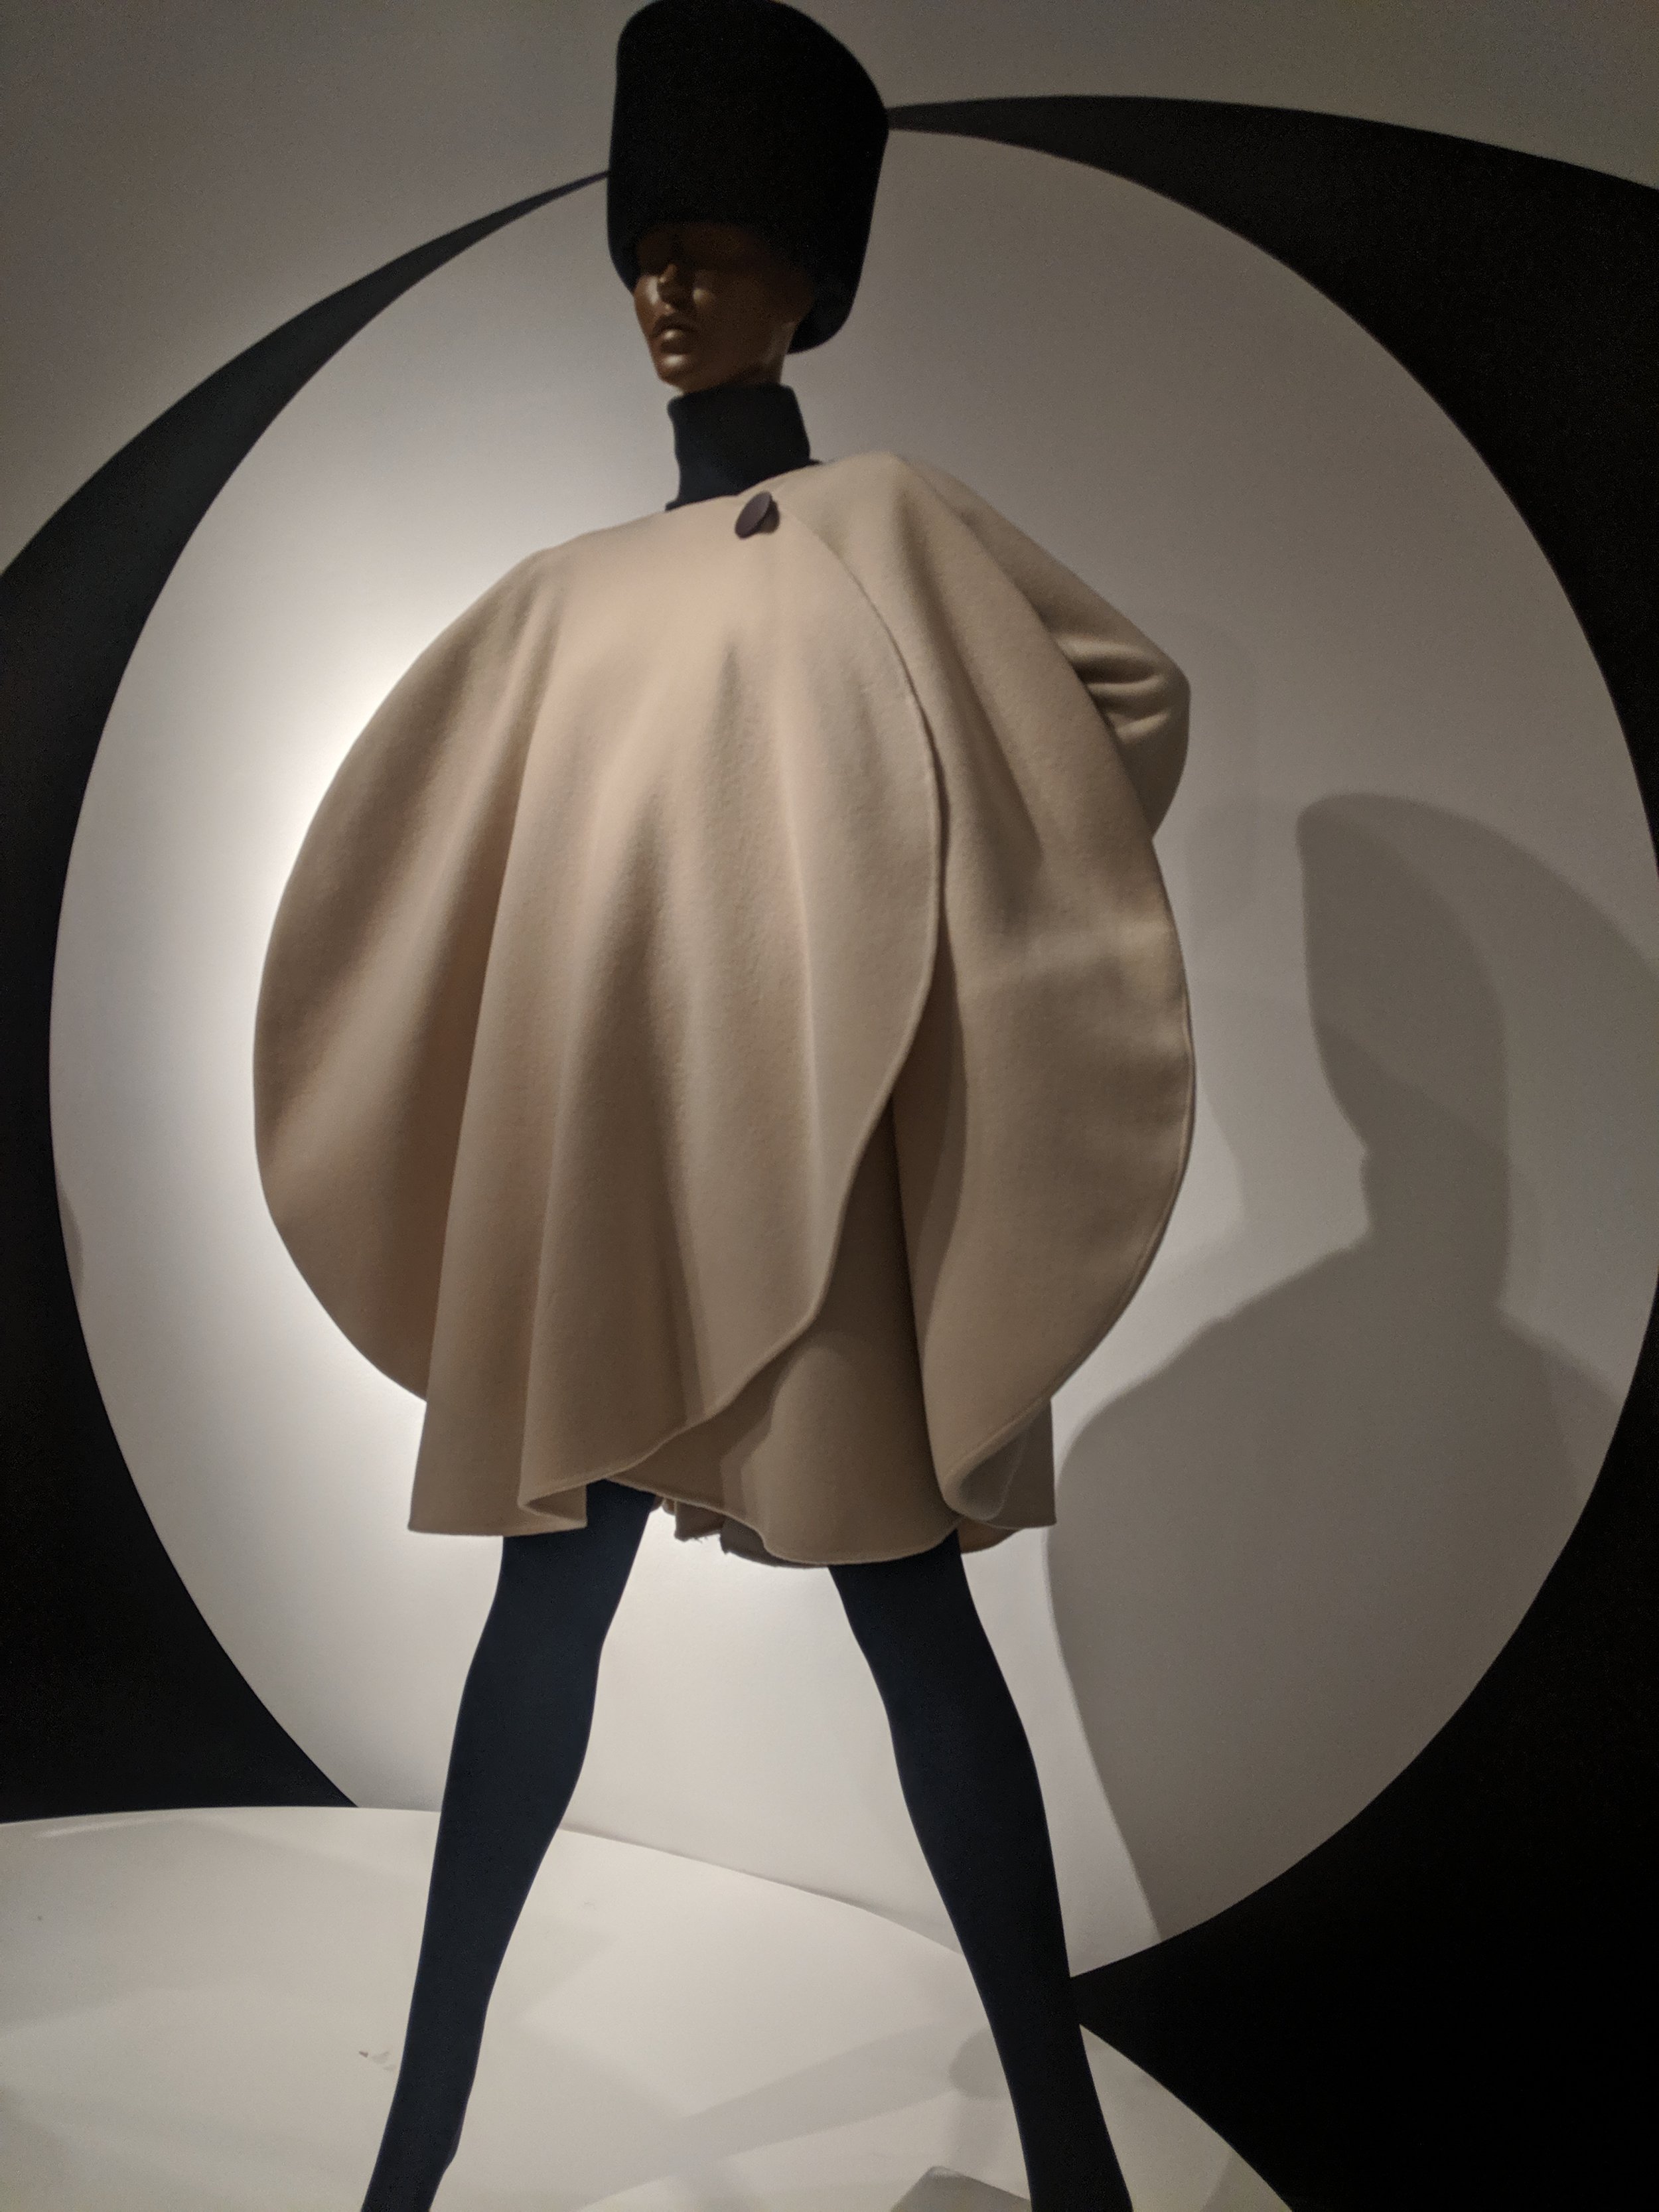
Happy Thanksgiving :) I love holidays and sewing in the fall. Last year I finished a Claude Montana outfit for thanksgiving, this year just in time I wrapped up a Pierre Cardin skirt set. I love recreation! This year's set was really informed by my sewing classes and by the Cardin show from 2019 at the Brooklyn Museum that I went to with my sister Celeste two Octobers ago. I liked it because I love Cardin but thought it was too much focus on his new stuff, whatever, wonderful clothes and even a few patterns he released. I have loved his carwash dress for ages, when I went to the show I saw a skirt and some other amazing circular, parabolic stuff he did.


So I have wanted to copy that first skirt since then. I was looking for a fun project and I decided to do Vogue 1342 which I got for Christmas last year I think..
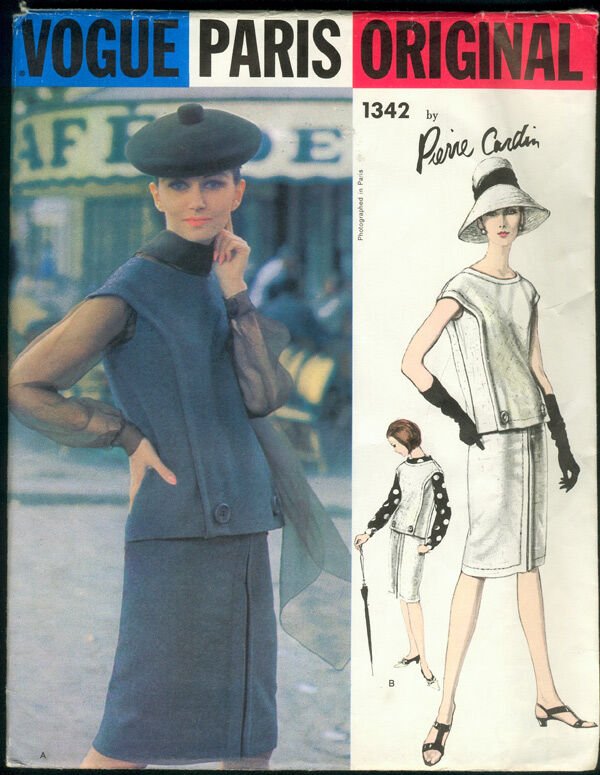

Description: "Two-Piece Dress, Blouse and Scarf. Back buttoned overblouse with lap seam detail, extended shoulders, button front trim. Straight skirt with center front lap seam detail. Blouse with long cuffed sleeves, cowl collar. Square scarf." It was also on the cover of the Vogue Pattern book for April/May 1964, so cute, I love how they did the top in a polka dot mirroring the pattern illustration. The top has a lot of the kind of details I historically am super bad at, I'm not always good at lining stuff and I'm so, so bad at topstitching, so the offset line of stitching along the front part of the overblouse/tunic was a nice challenge.
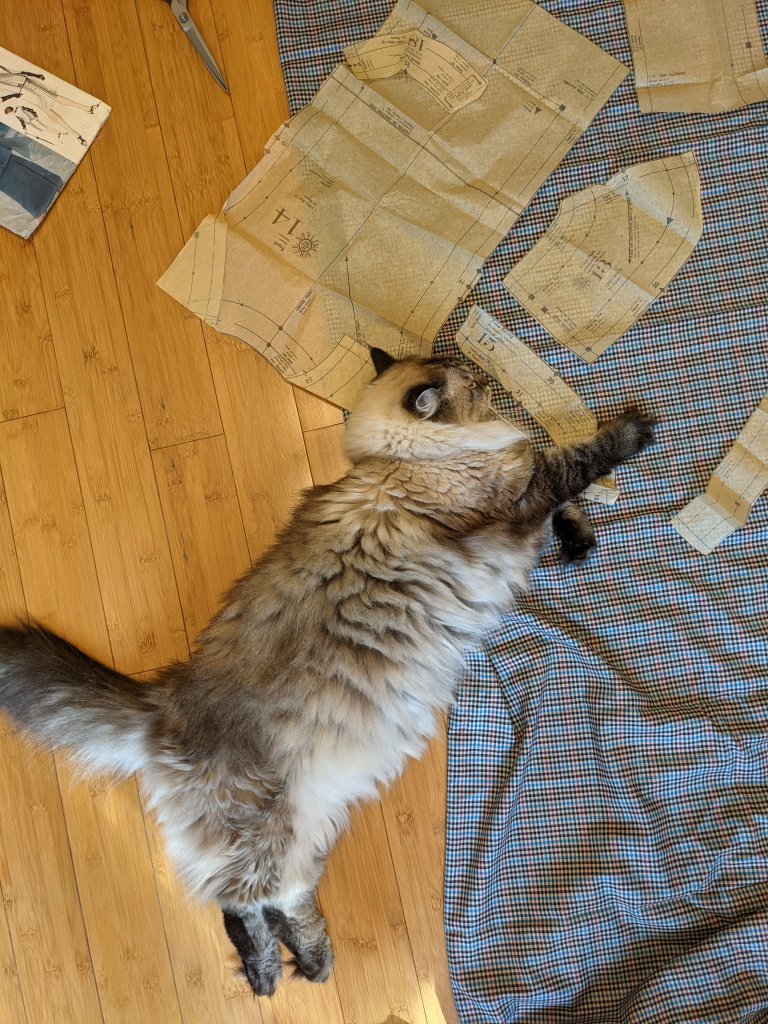
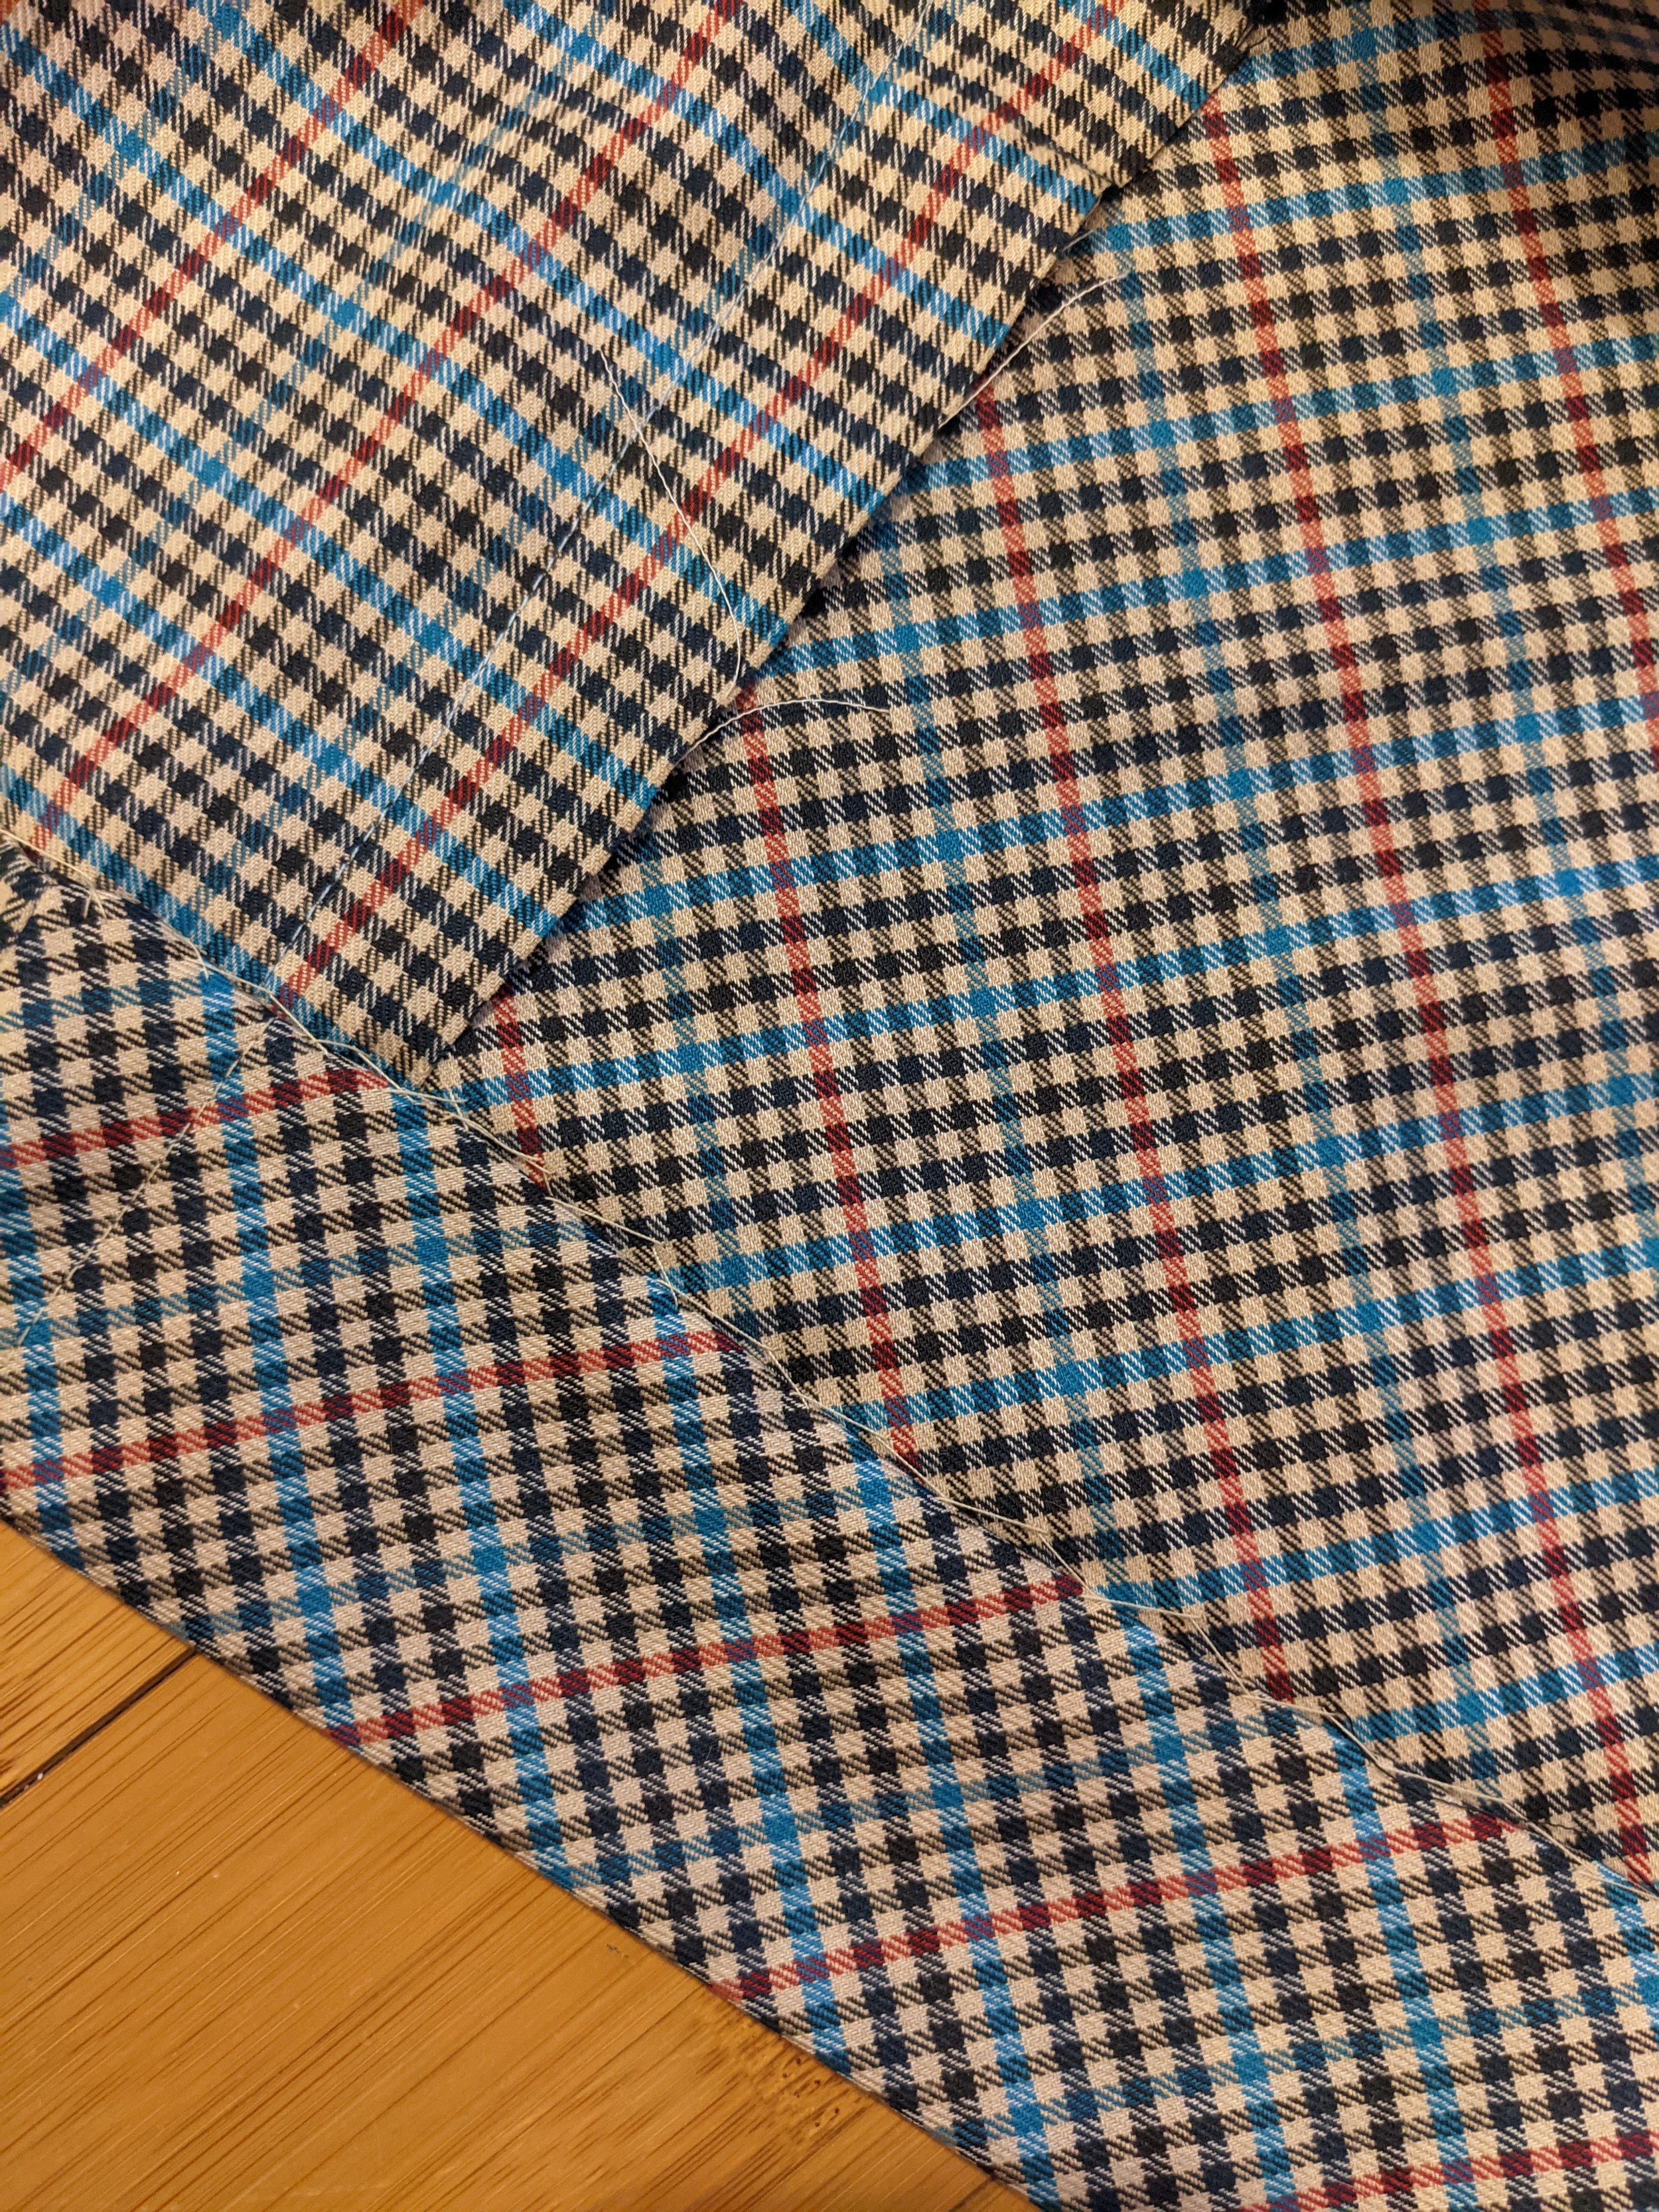
I used a plaid wool blend fabric from Fabscrap which was a great choice since the checkered pattern made aligning the pattern pieces along the grain (and for the front, along the bias) very easy. Thank you Leo for helping:
The top came together easily, I basted the topstitching before sewing it down so that my lines would be straight. One of the facings along the back neckline was about 2 inches too long. I hate when patterns make that mistake, I just cut it down but I wasn't happy, in the past I would have tried to sew it and made a mess.
The back is the prettiest part to me. I decided to do bound/corded buttonholes which I learned to do in my FIT class last semester and although they take forever, they are very beautiful and worth the effort. In fact my first corded buttonhole was from this same fabric.
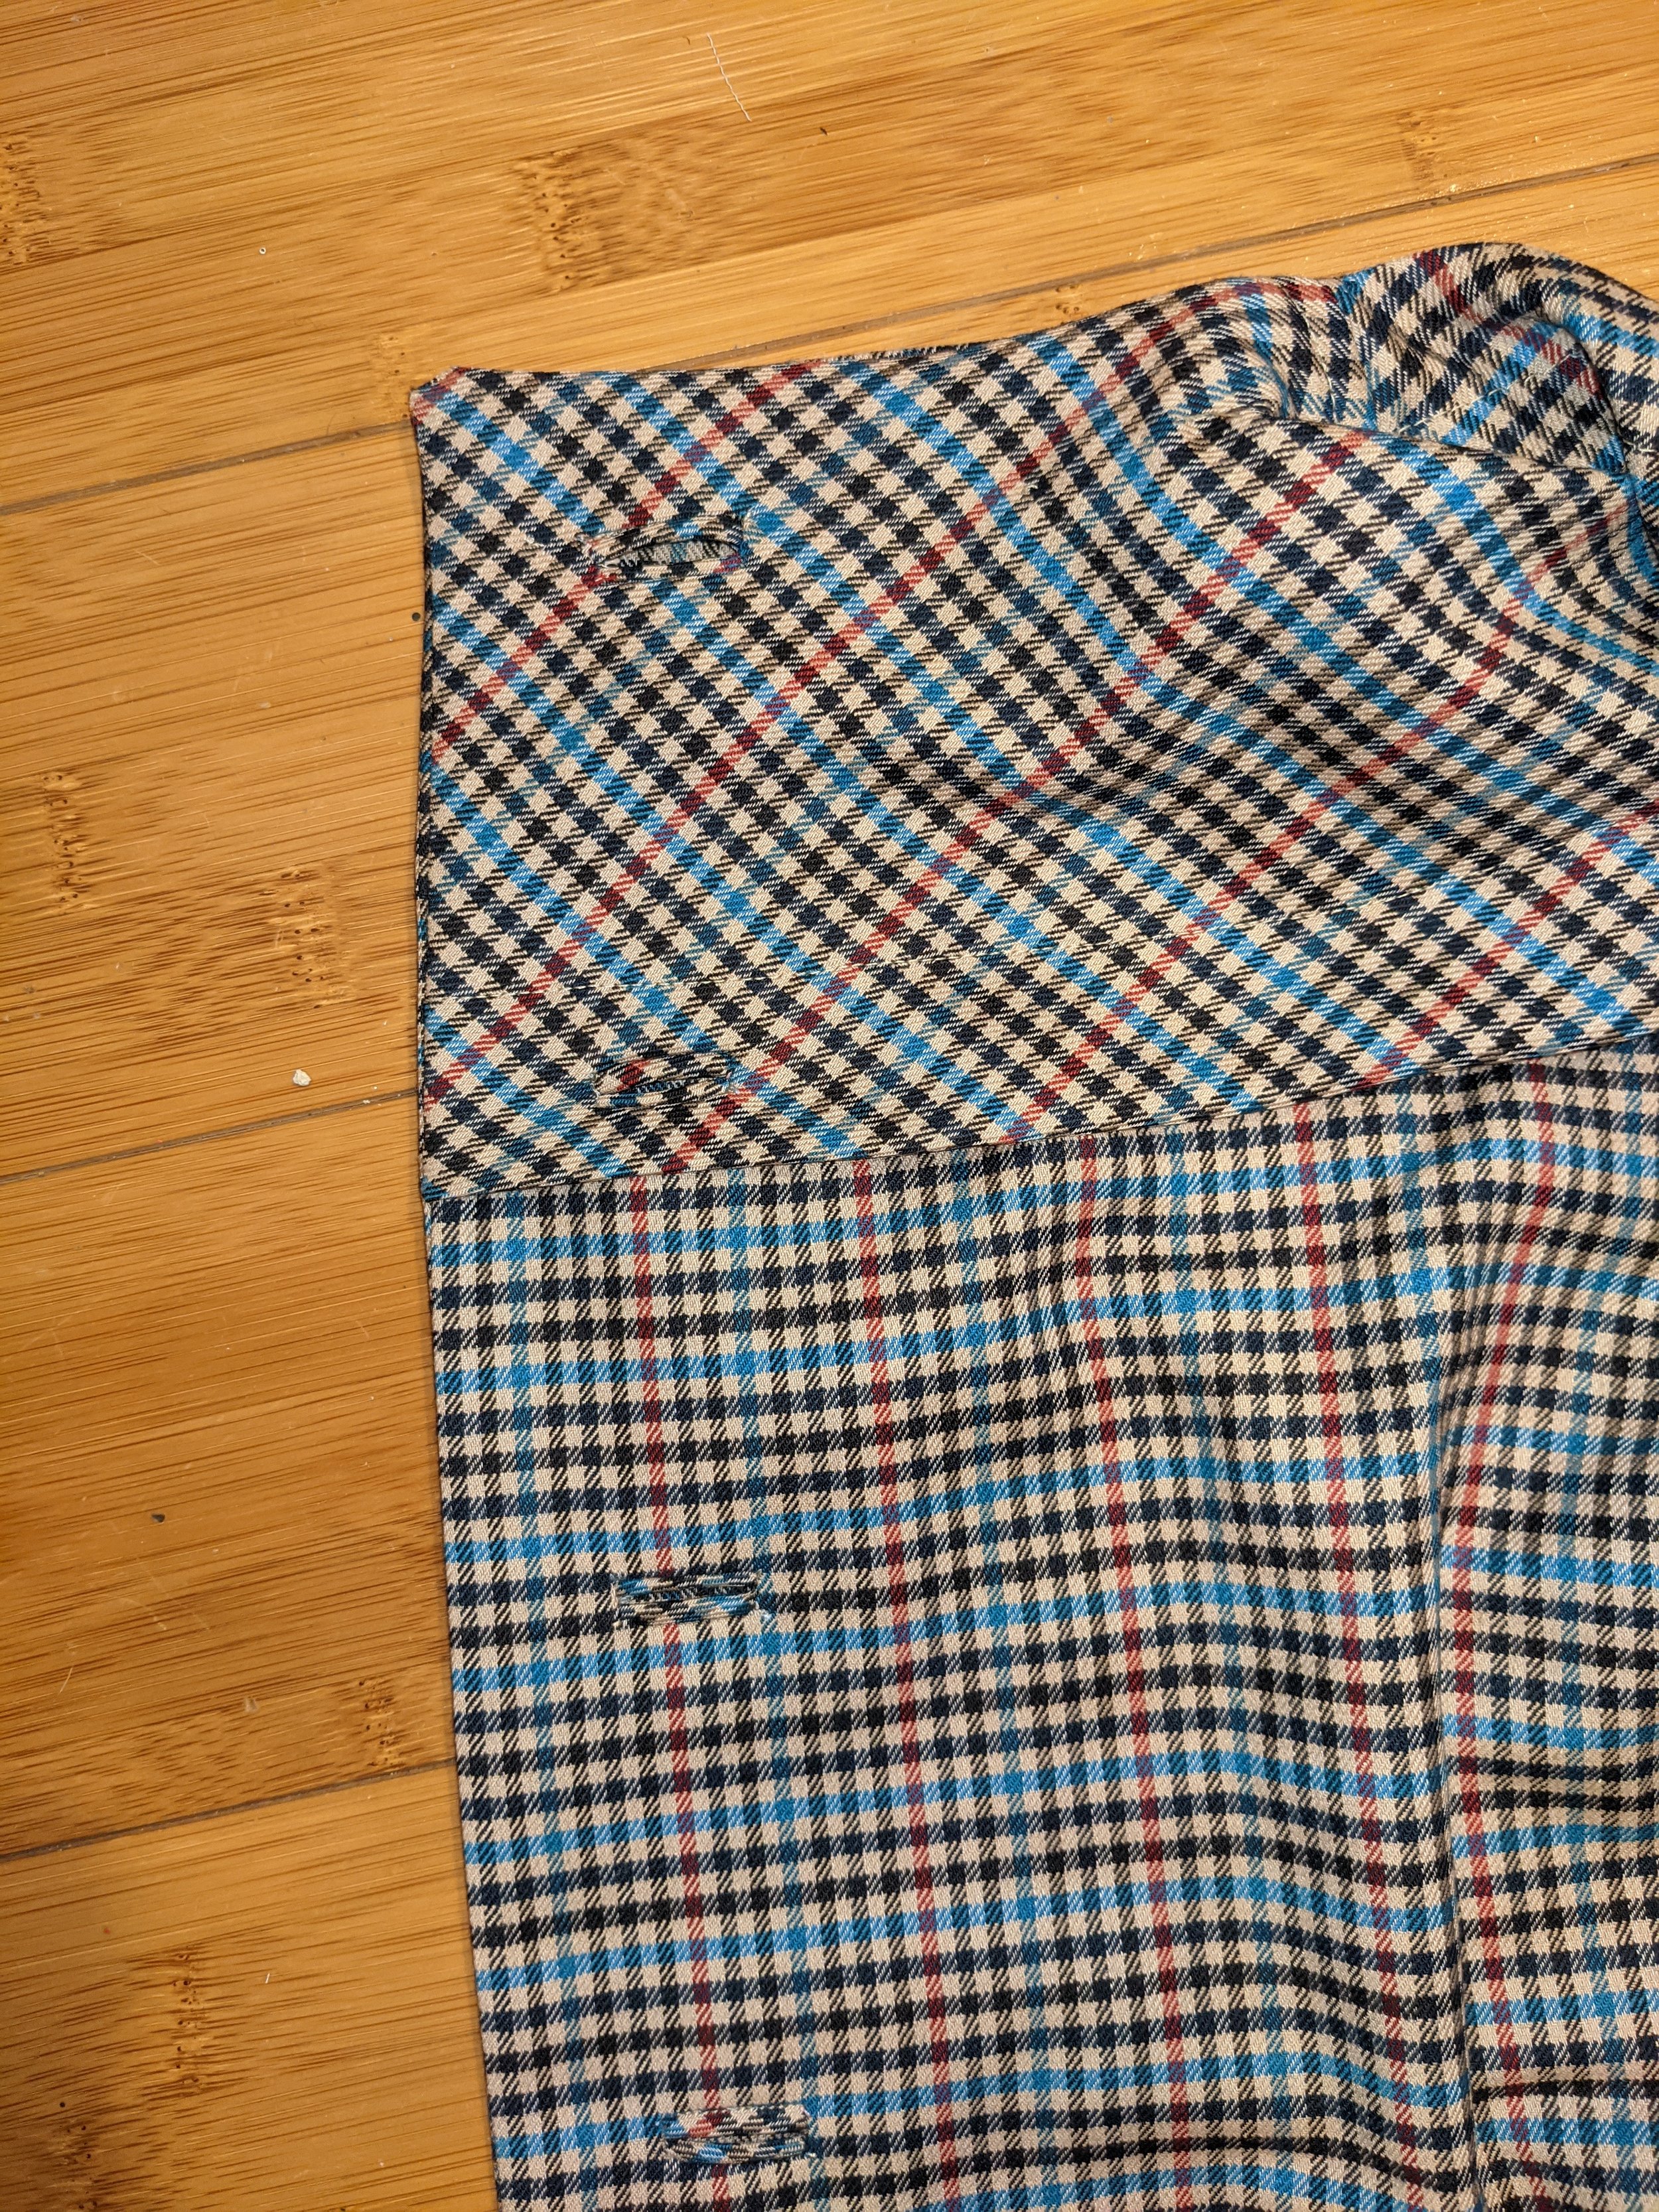
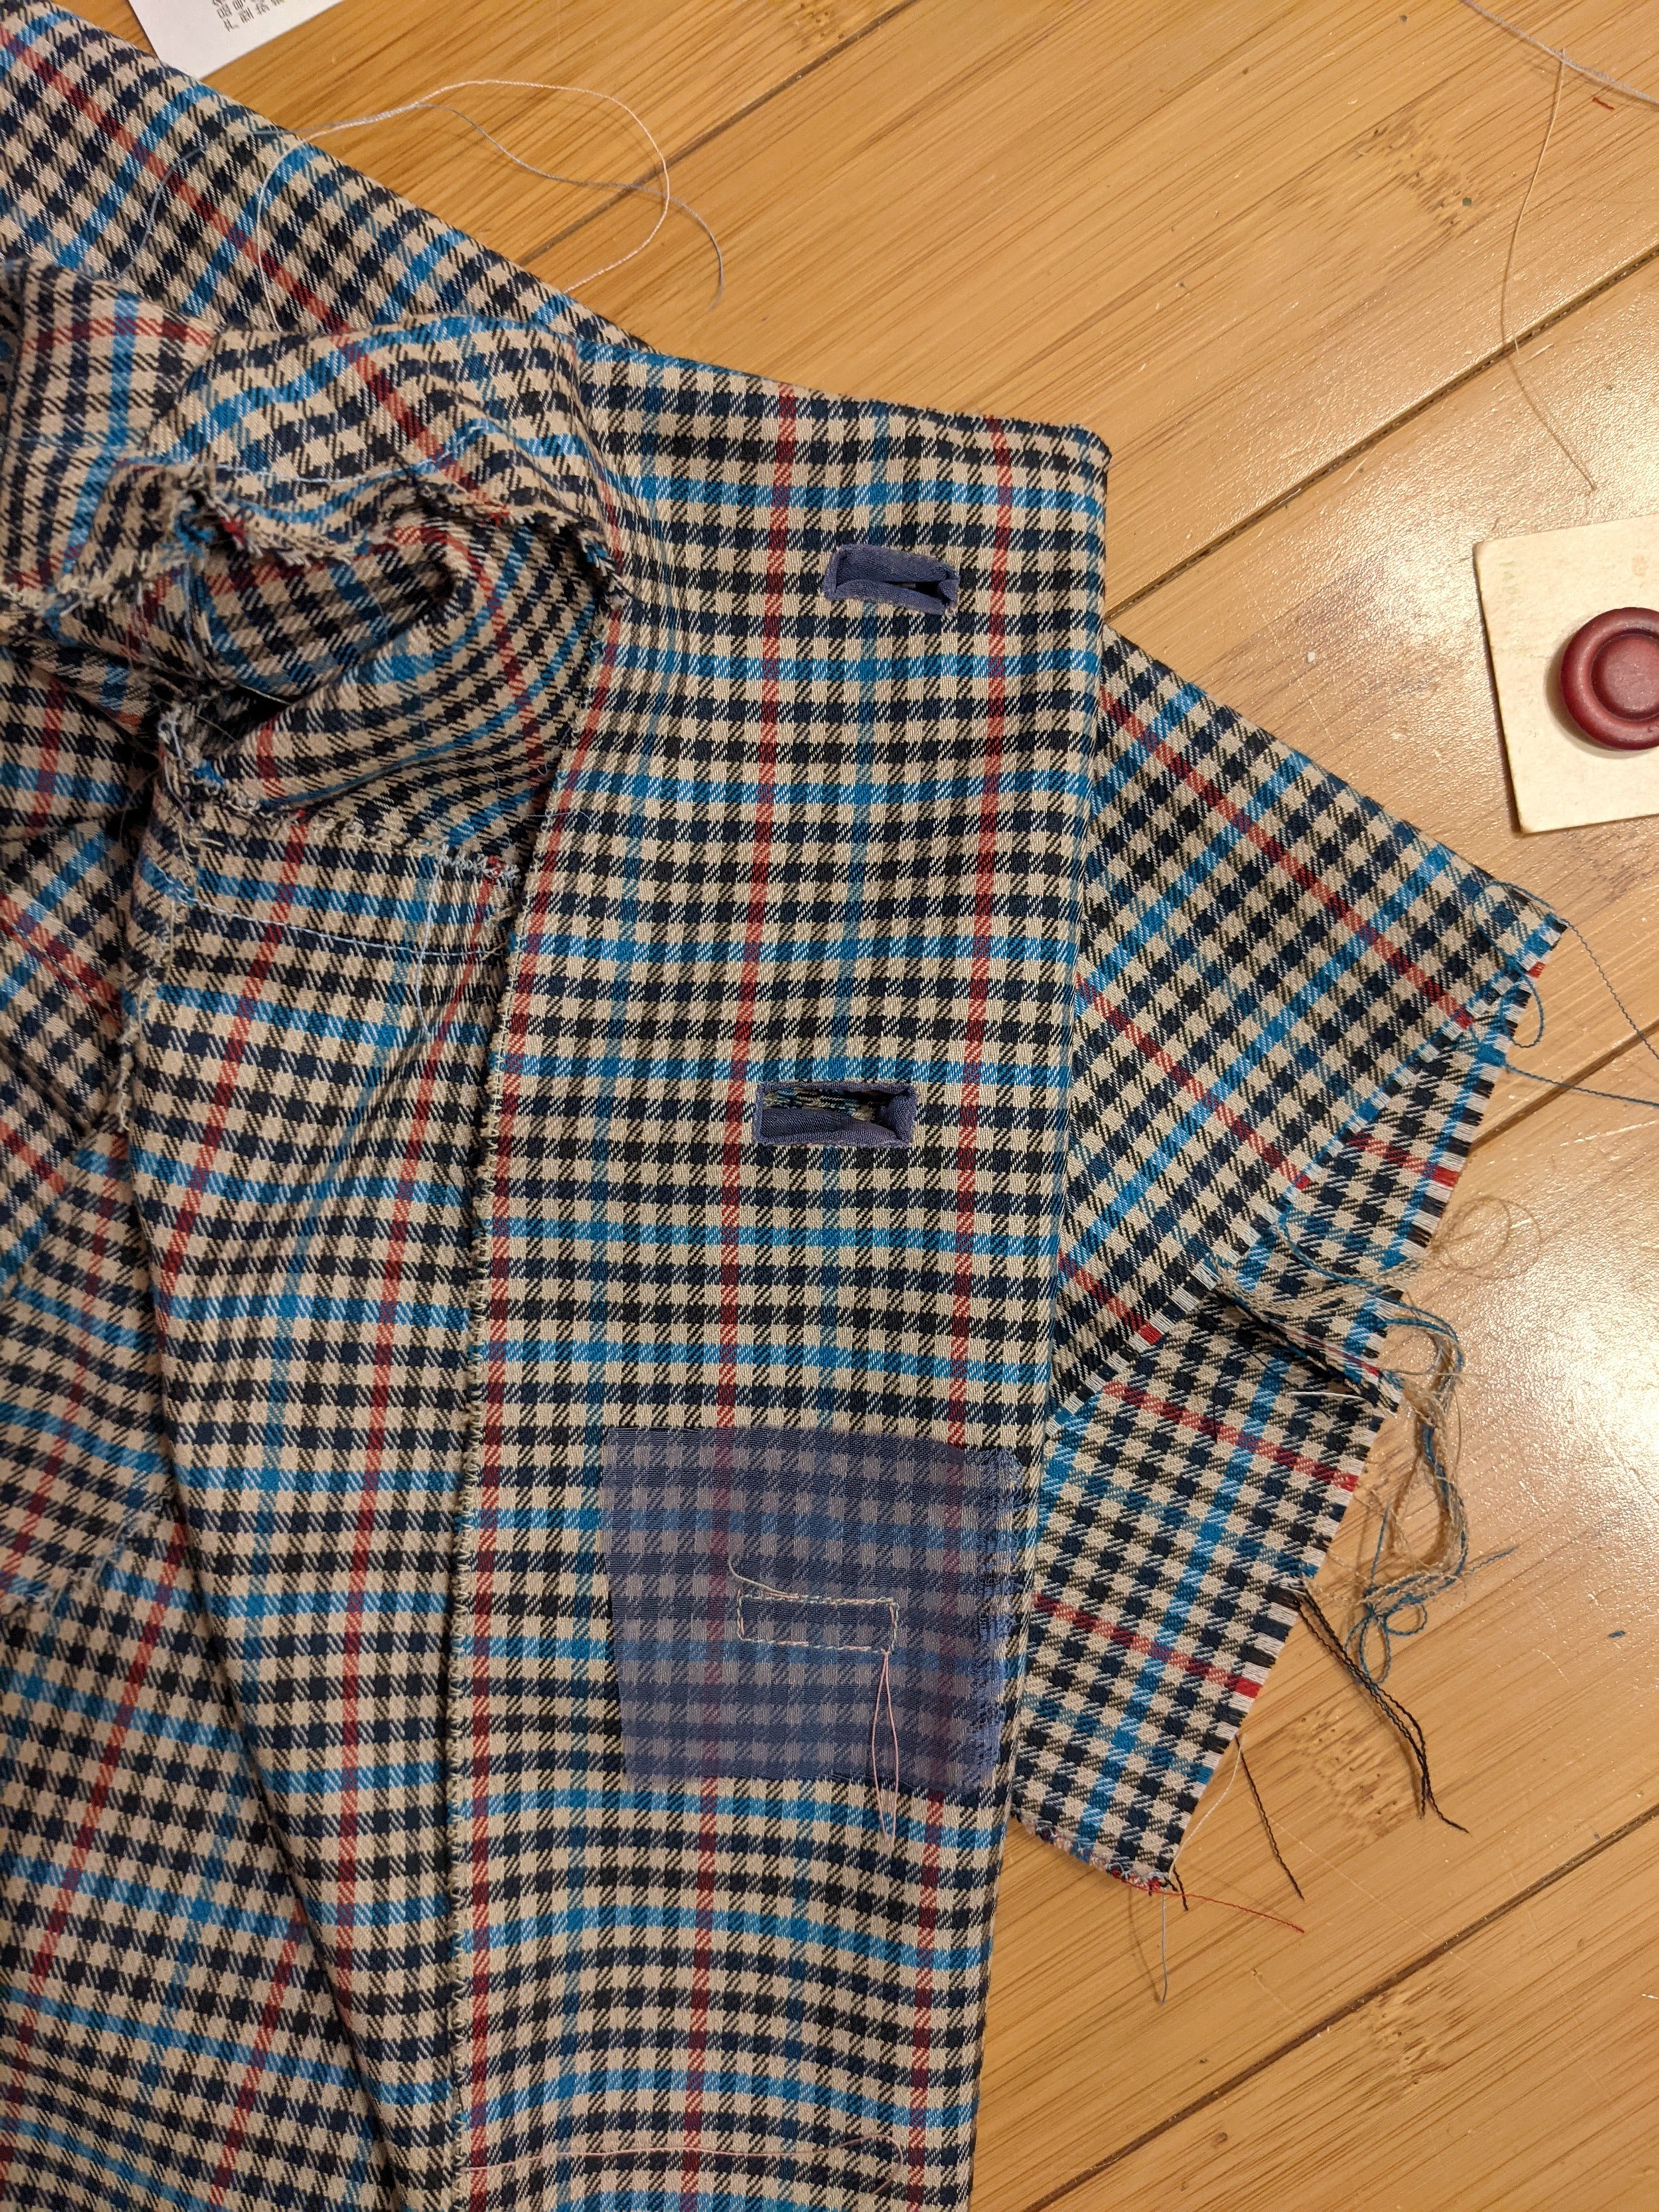
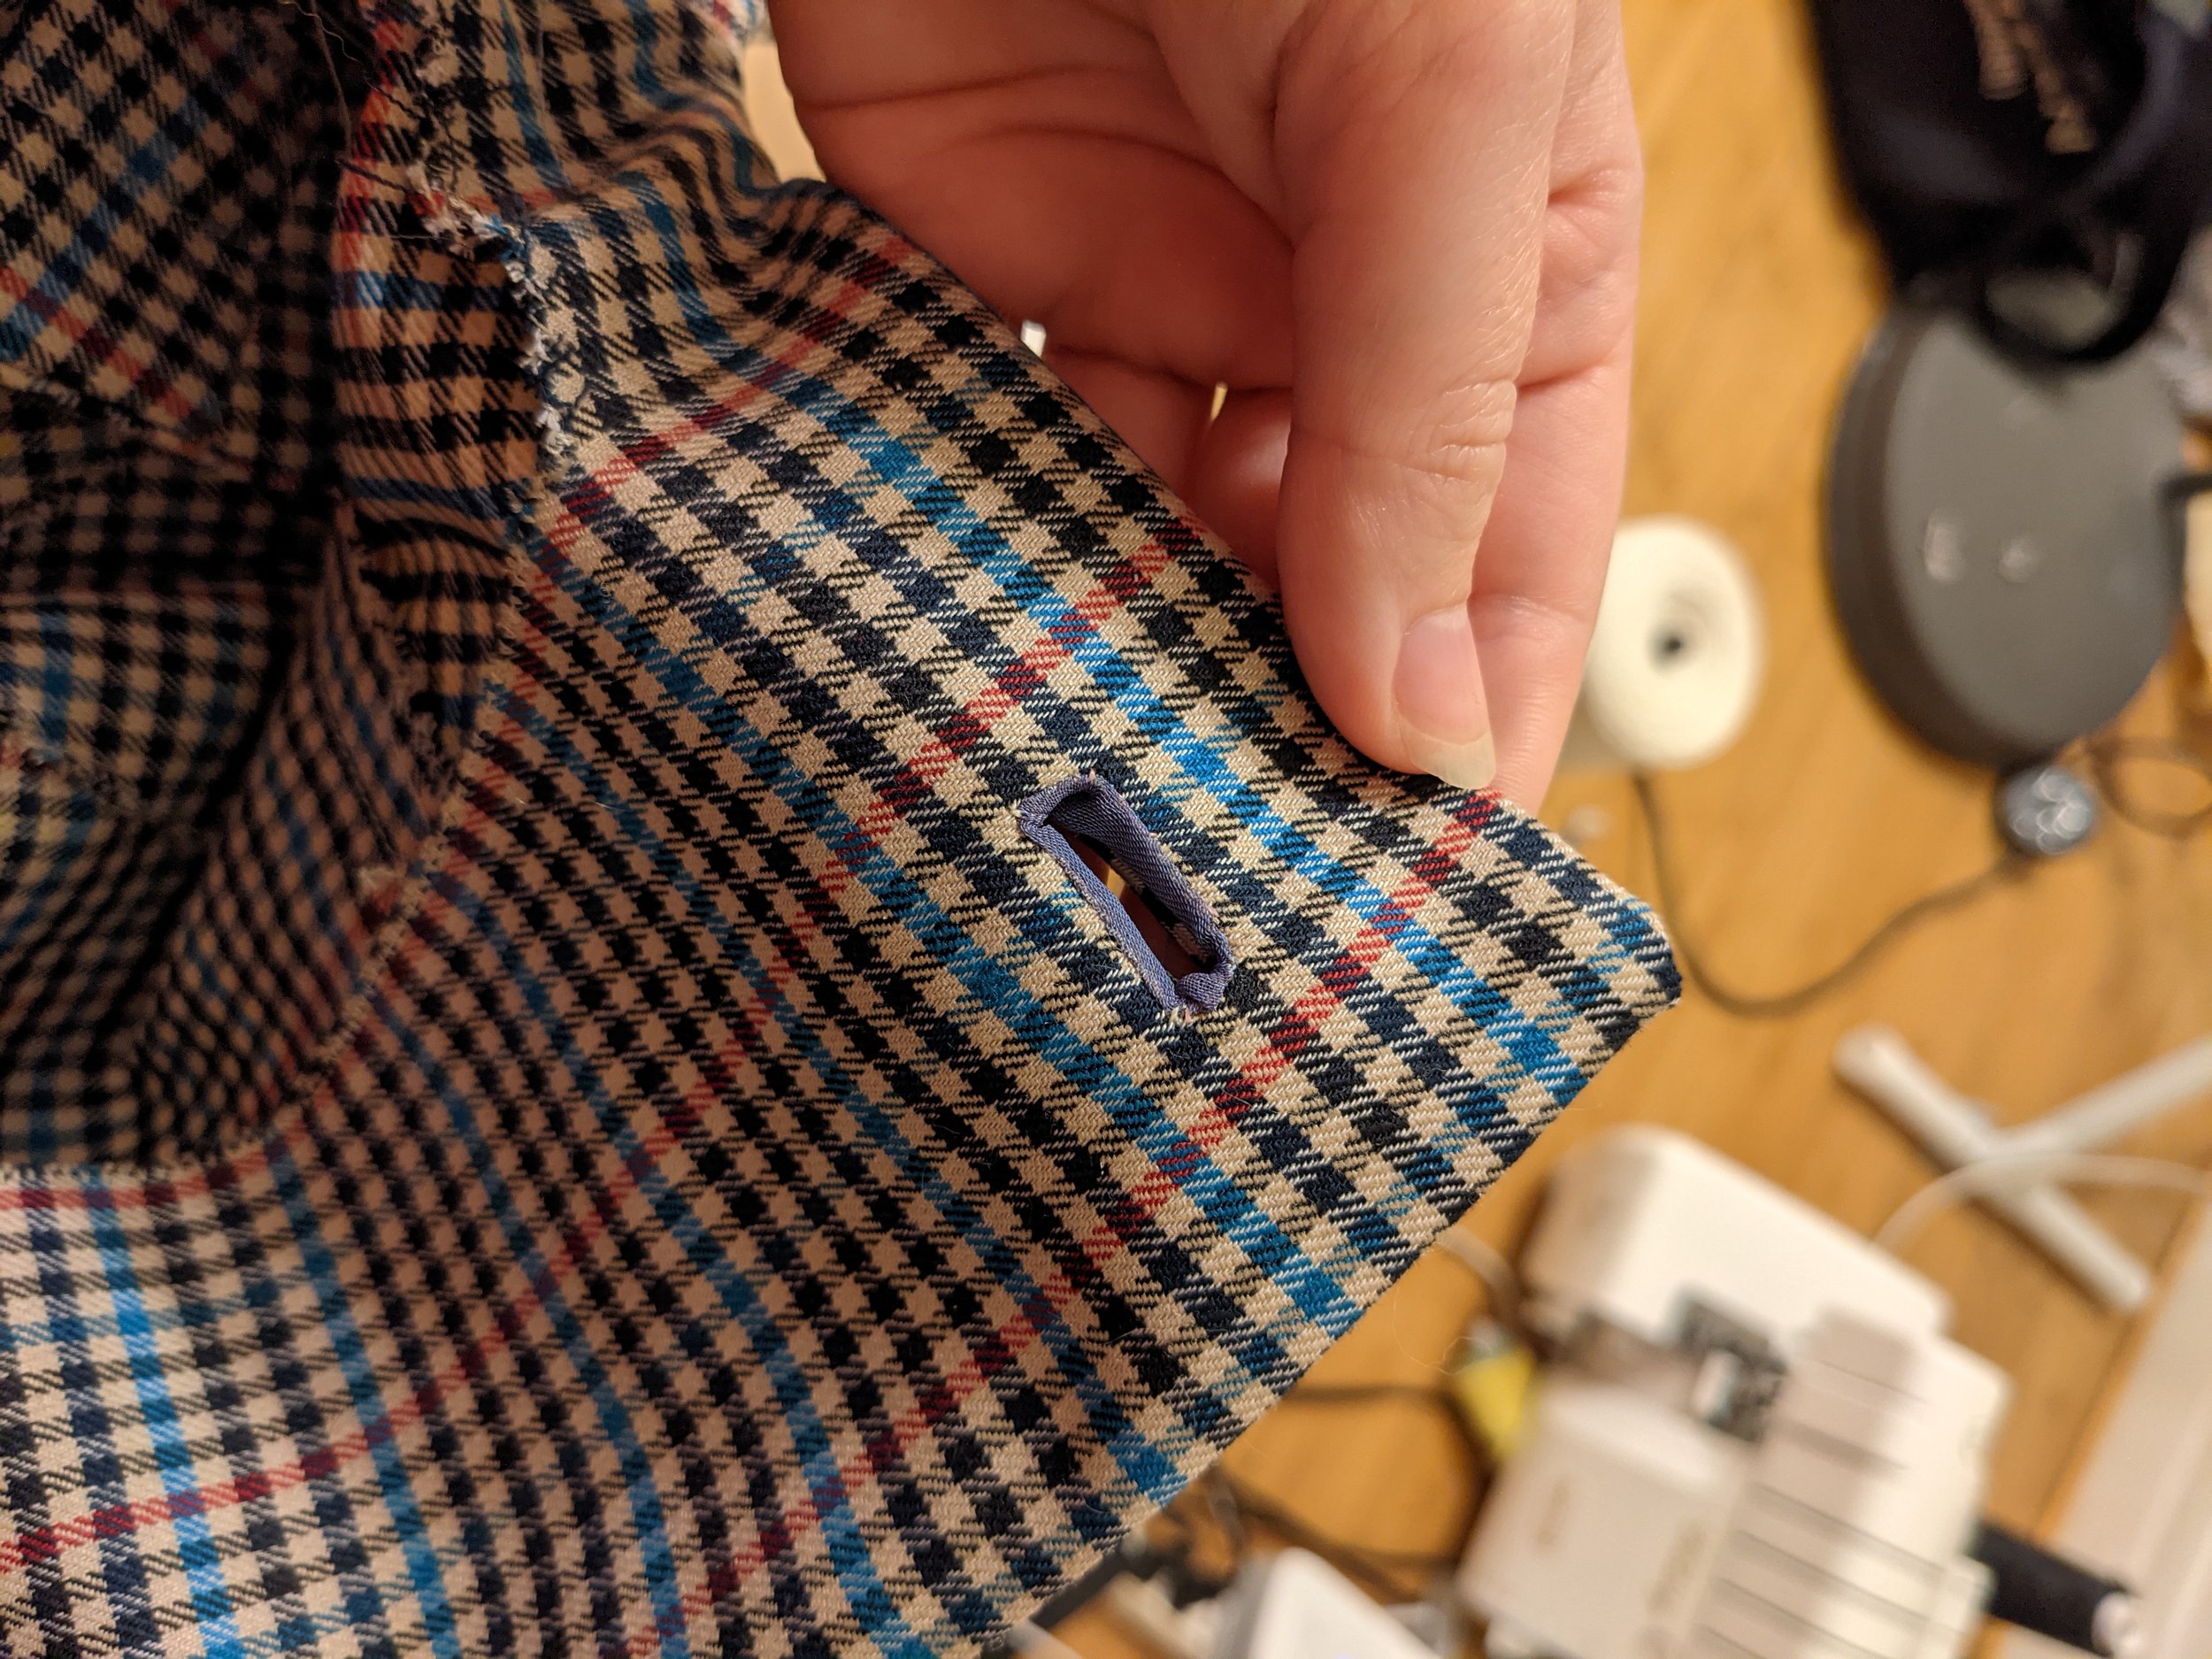
Six corded buttonholes, they were almost easy by the end :)
Since I did all that stitching by hand I decided to catchstitch the facings to the inside so they would be invisibly attached: pretty:

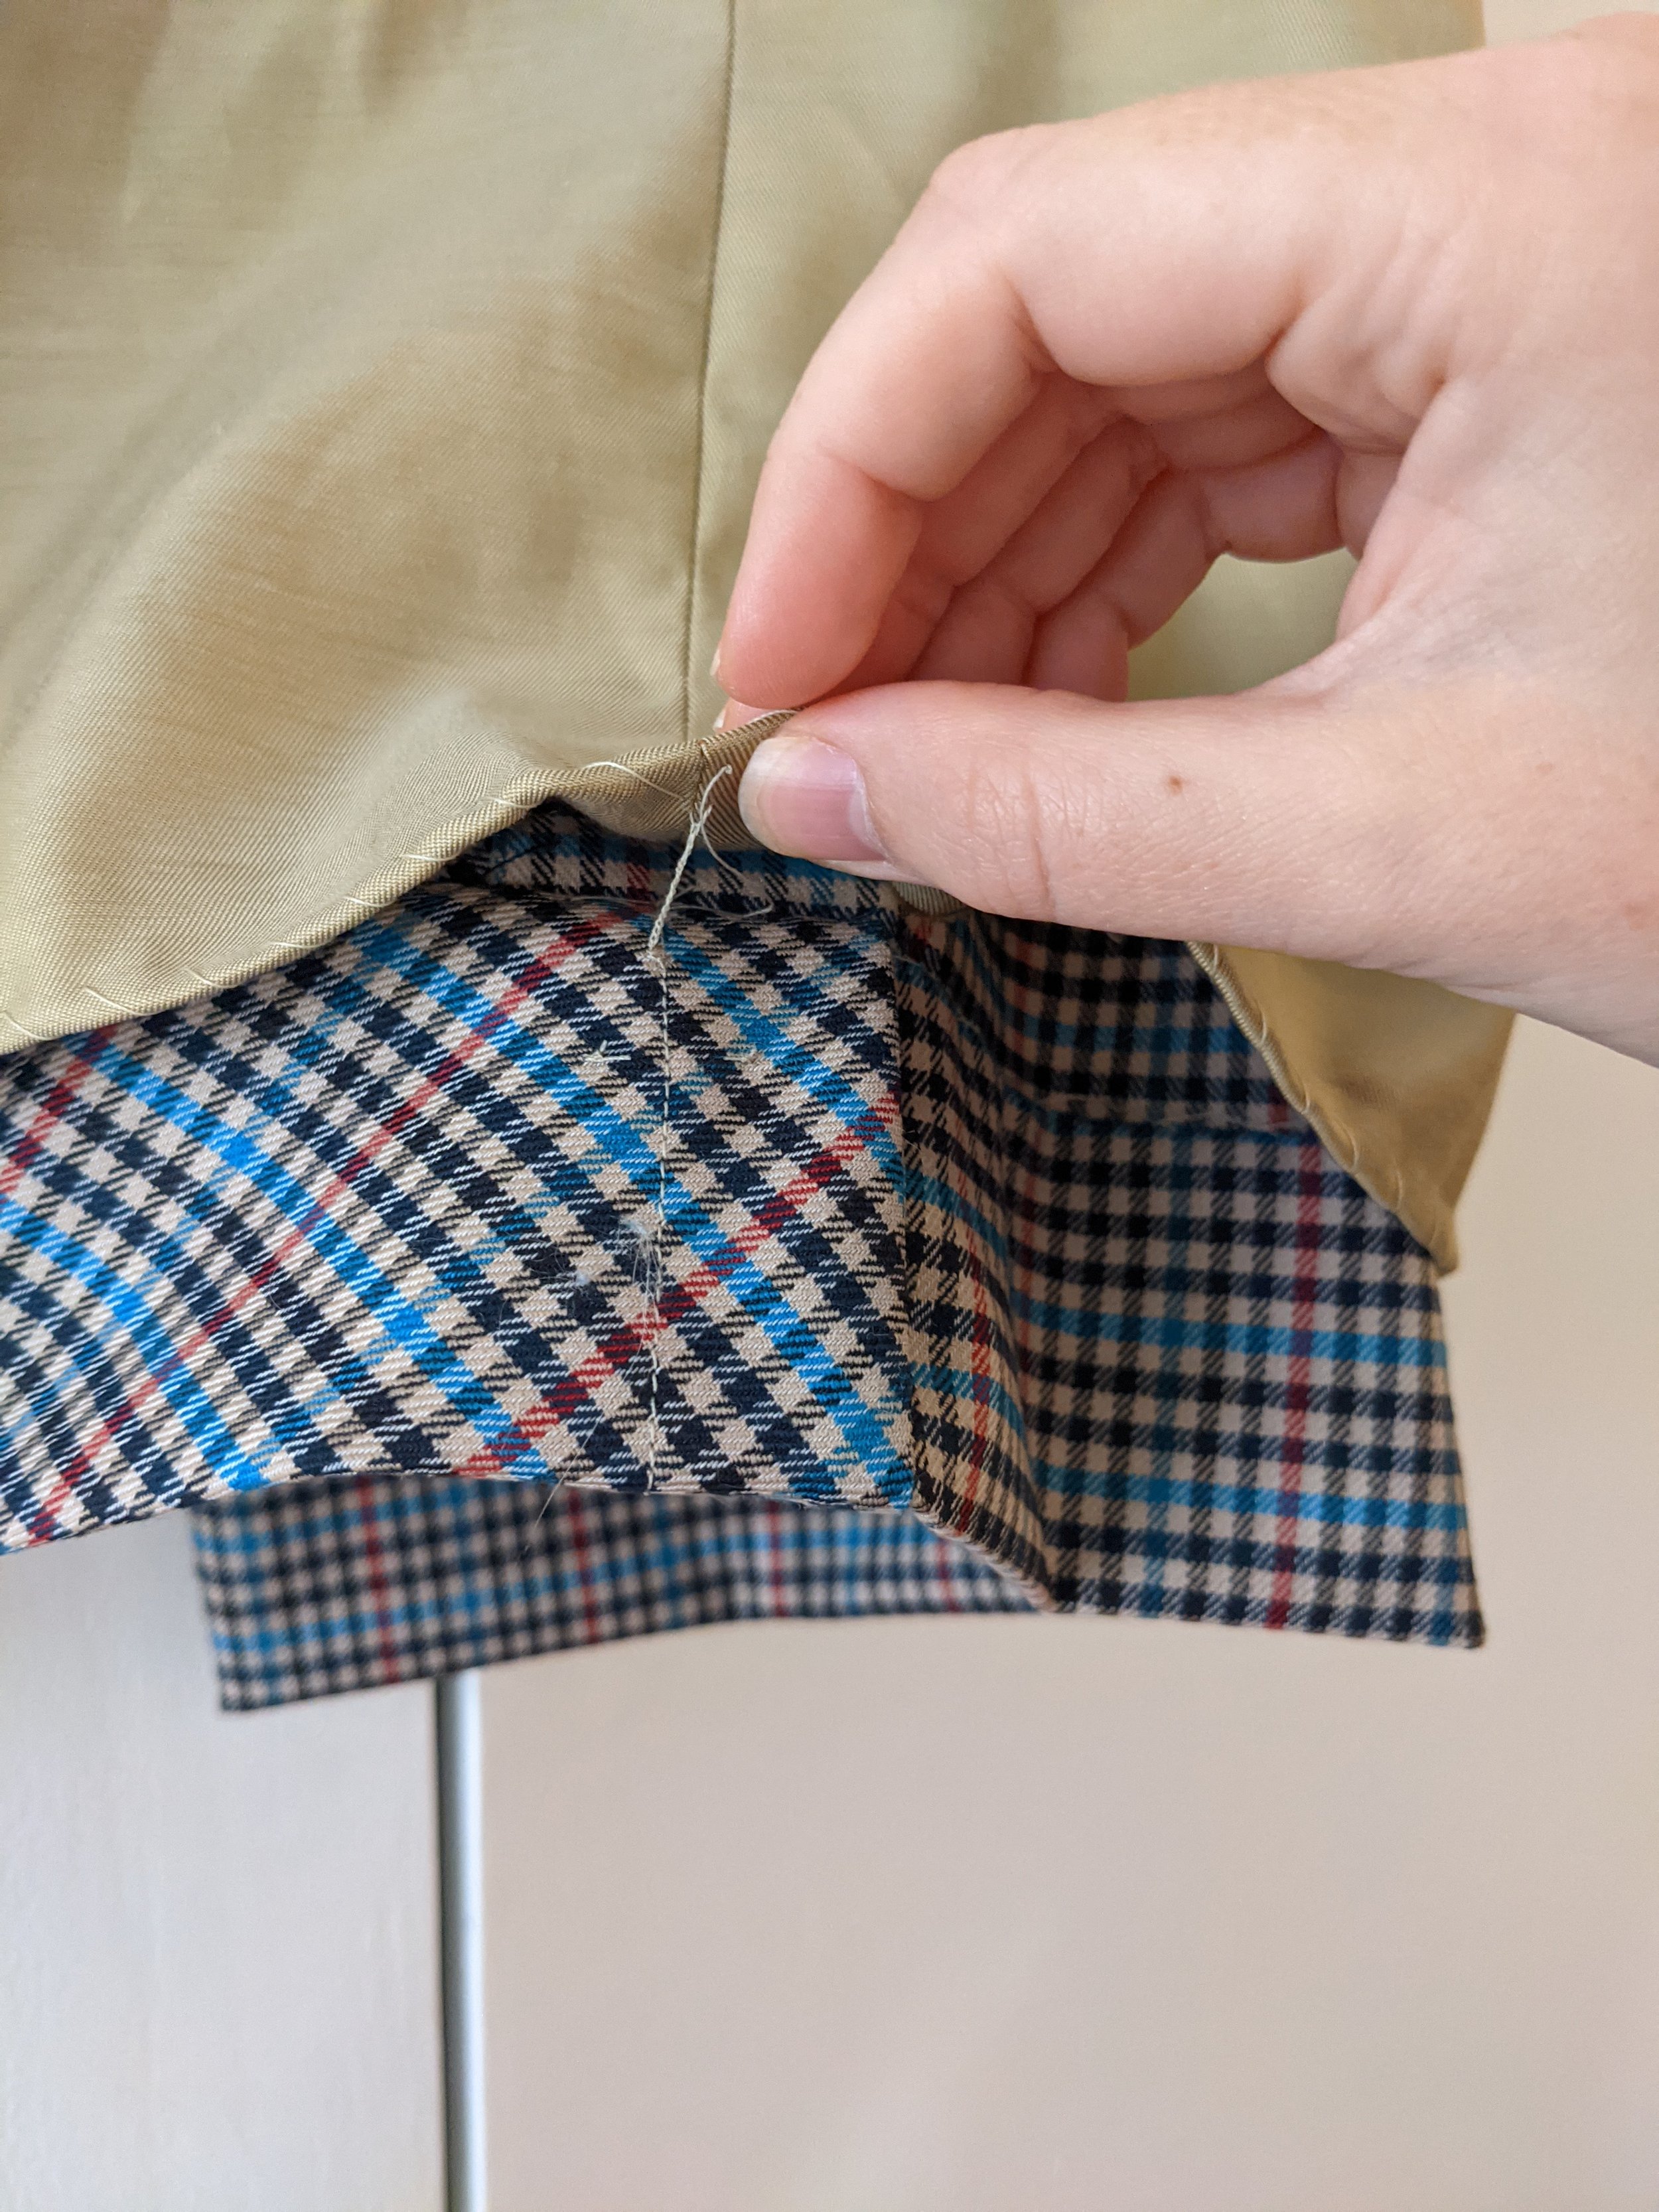
Then I invisibly attached the lining by hand too, I pressed in the raw edges and sewed it on, I even added french tacks along the bottom hemline... I was feeling very couturey I guess.
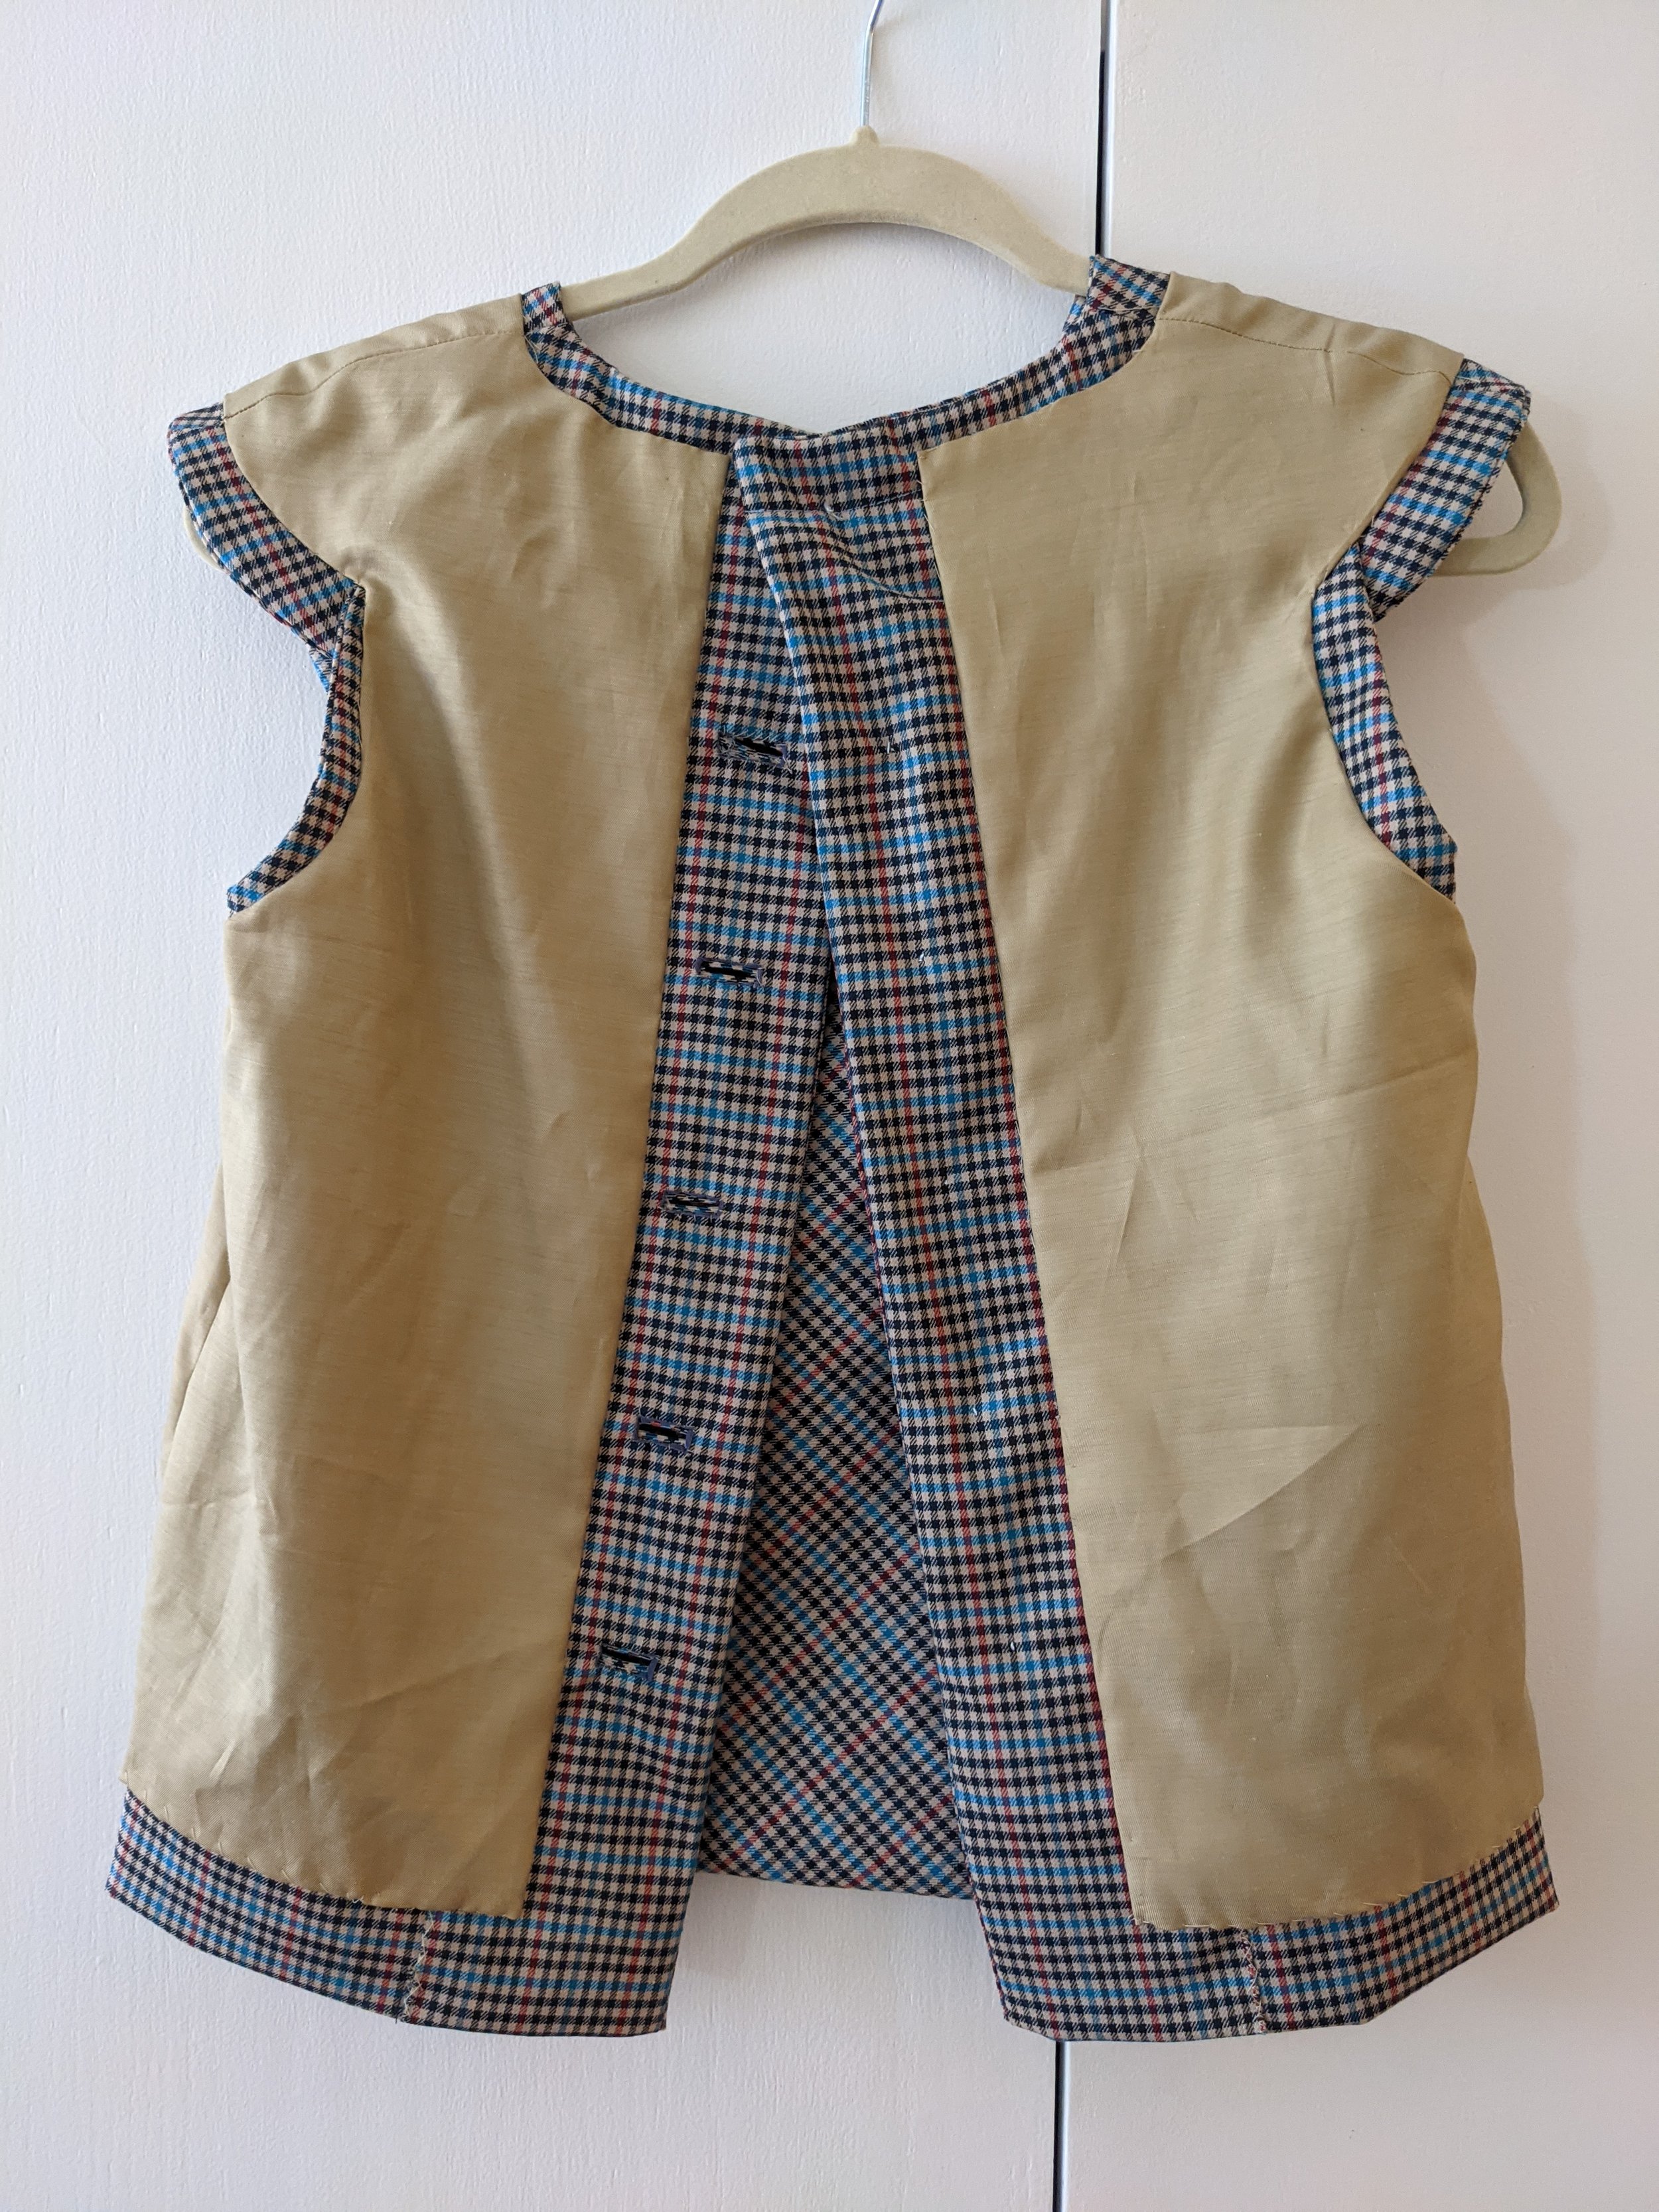
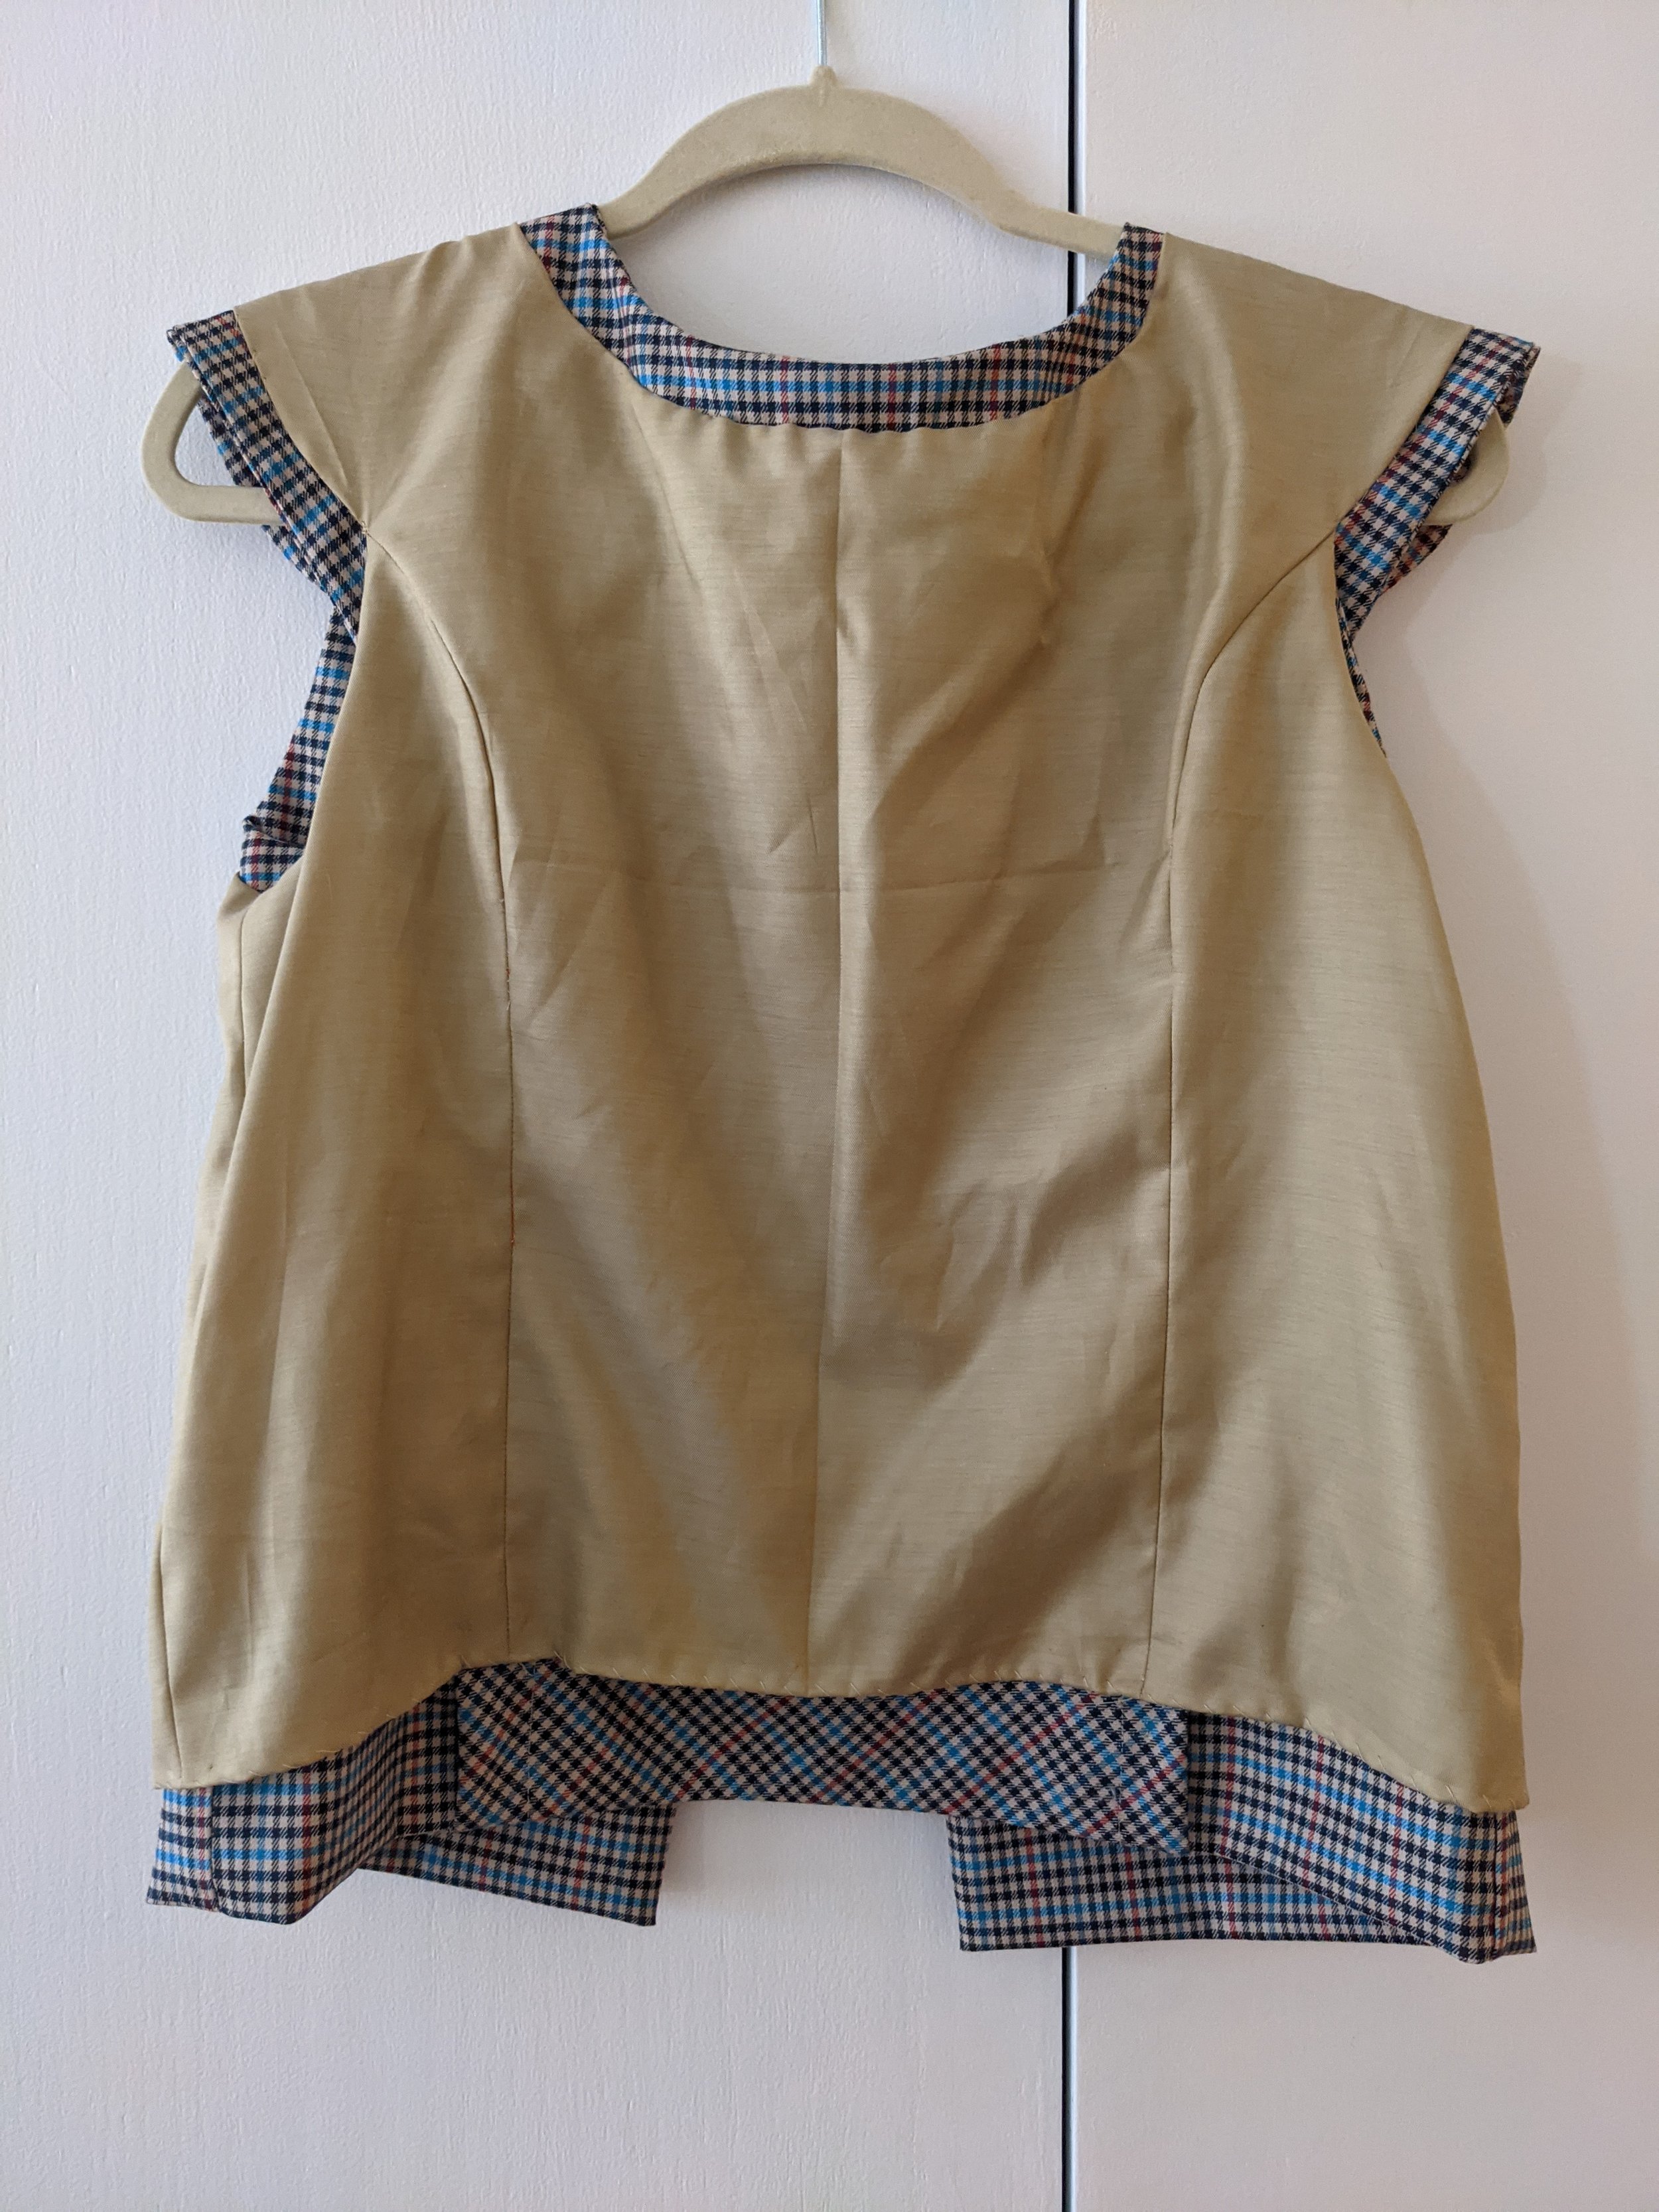
Wow! I love how it looks turned inside out, it's perfect. But then I had extra time and I couldn't stop thinking about that carwash skirt. That didn't require any real drafting or flat patterning, just math. I measured my high hip where I wanted the skirt to sit a little low slung, I measured the length I wanted for the washer pieces (haha) and added a bit to the ends for their outward projection, doubled it for the lining added the seam allowance of .5" (SA) for easy math and was off to the races. (quick maths below)
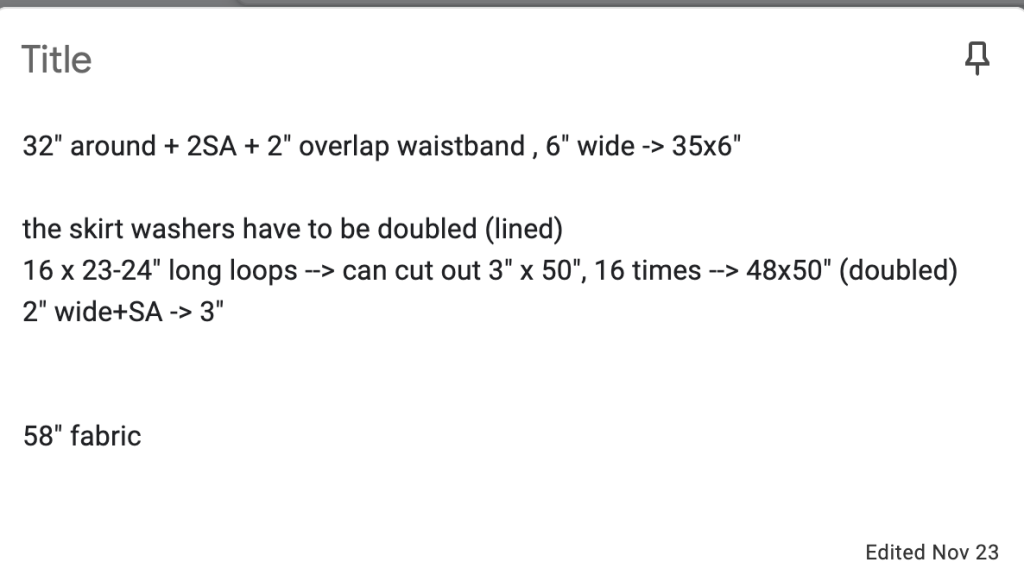
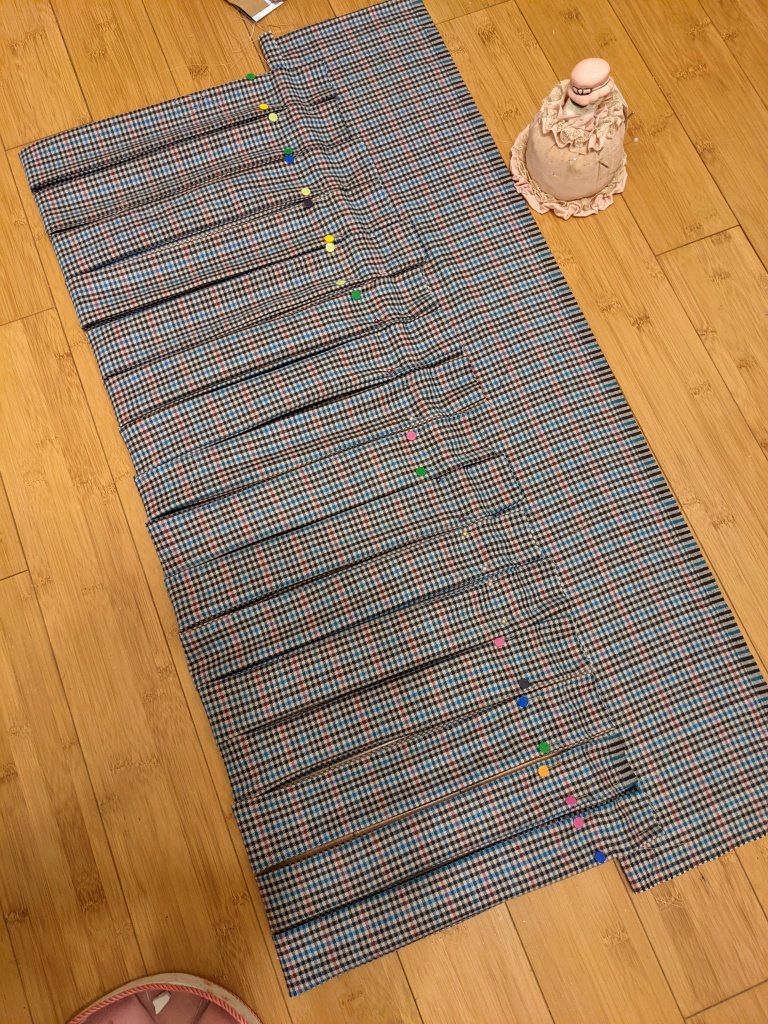
I cut out 16 50" long by 3" wide strips, sewed together, turned, pressed with help of a piece of cardboard cut to 2" wide, sewed them to a 8" deep waistband:

Then folded them over and sewed once more:
The halfway through that line of stitching my sewing machine completely jammed and no amount of cleaning could un-jam it. I cried several times. This is the second time a sewing machine has jammed and each time it has turned me into an emotional wreck. But I took it into the shop (Gizmo Notions in the East Village) and posted on Nextdoor for a sewing machine and picked up a neighbor's Janome 2212 the next day. The 2212 is a very simple machine and I had some thread tension issues at first but I actually love how Janomes run, they feel very powerful and reliable in some way. Thank you to my neighbor, I'm extremely grateful.

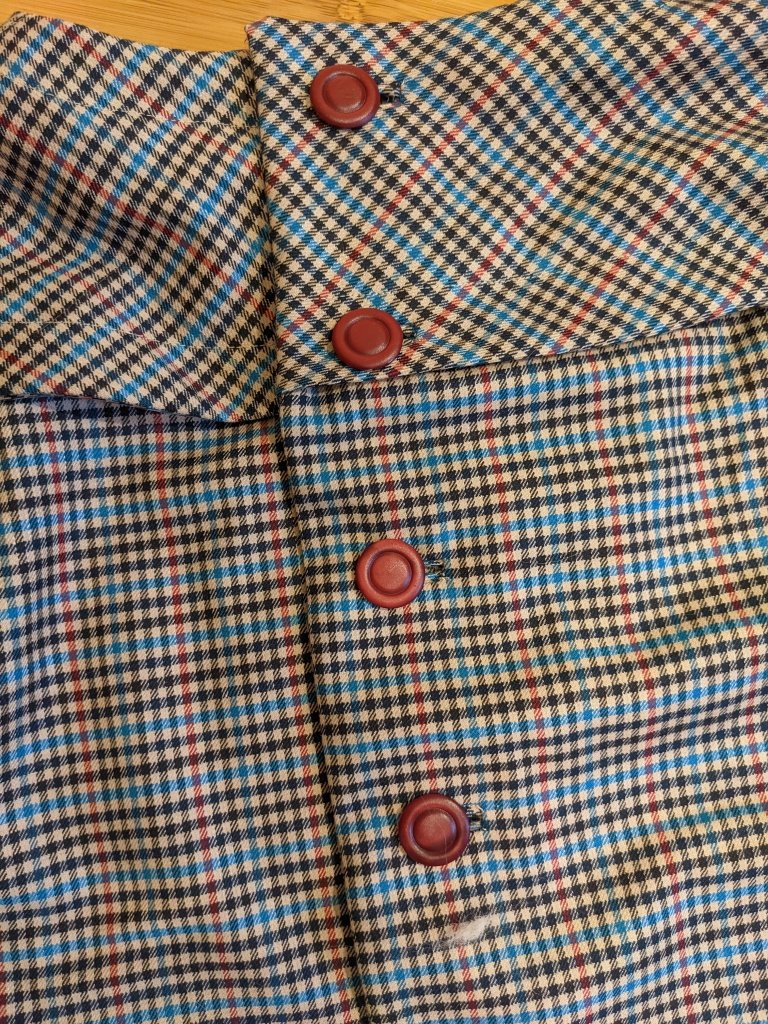
Then it was time to finish the waistband, I decided to invisible stitch it down by hand to maintain the look of the original skirt which has no visible topstitching. Then I sewed decorative buttons to the top, buttons on the skirt to close it and it was done... on Thanksgiving eve:)
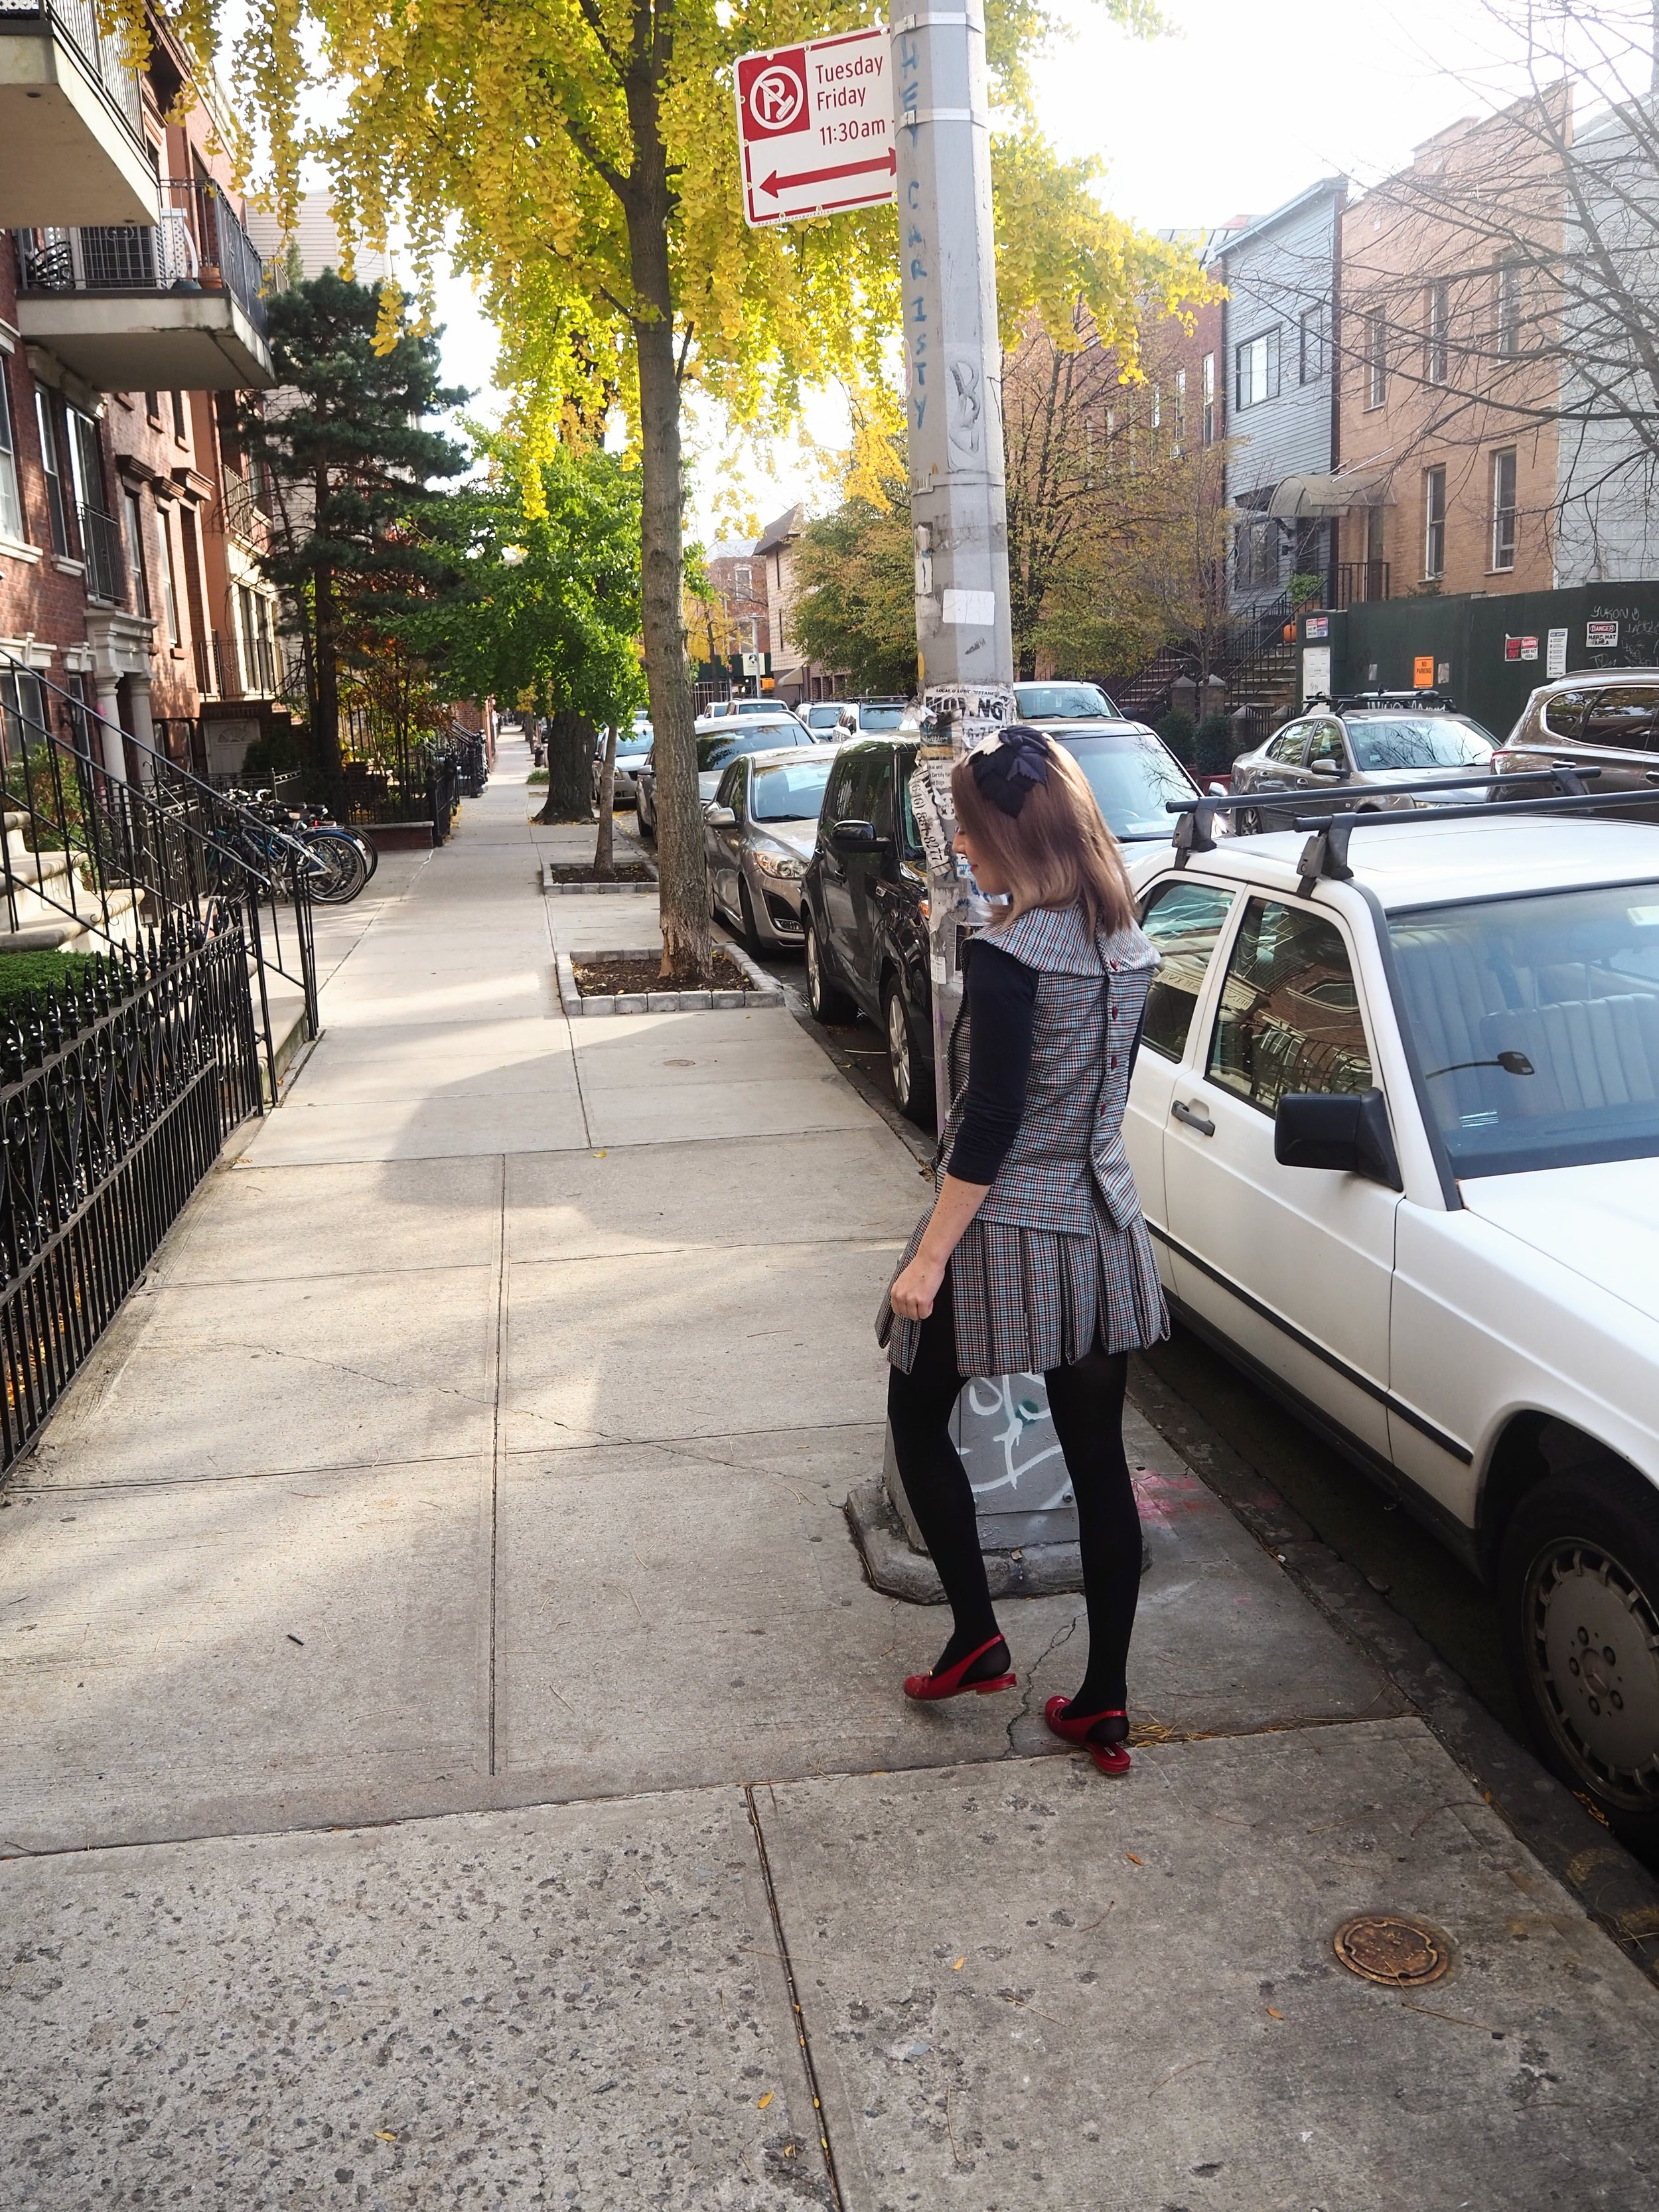
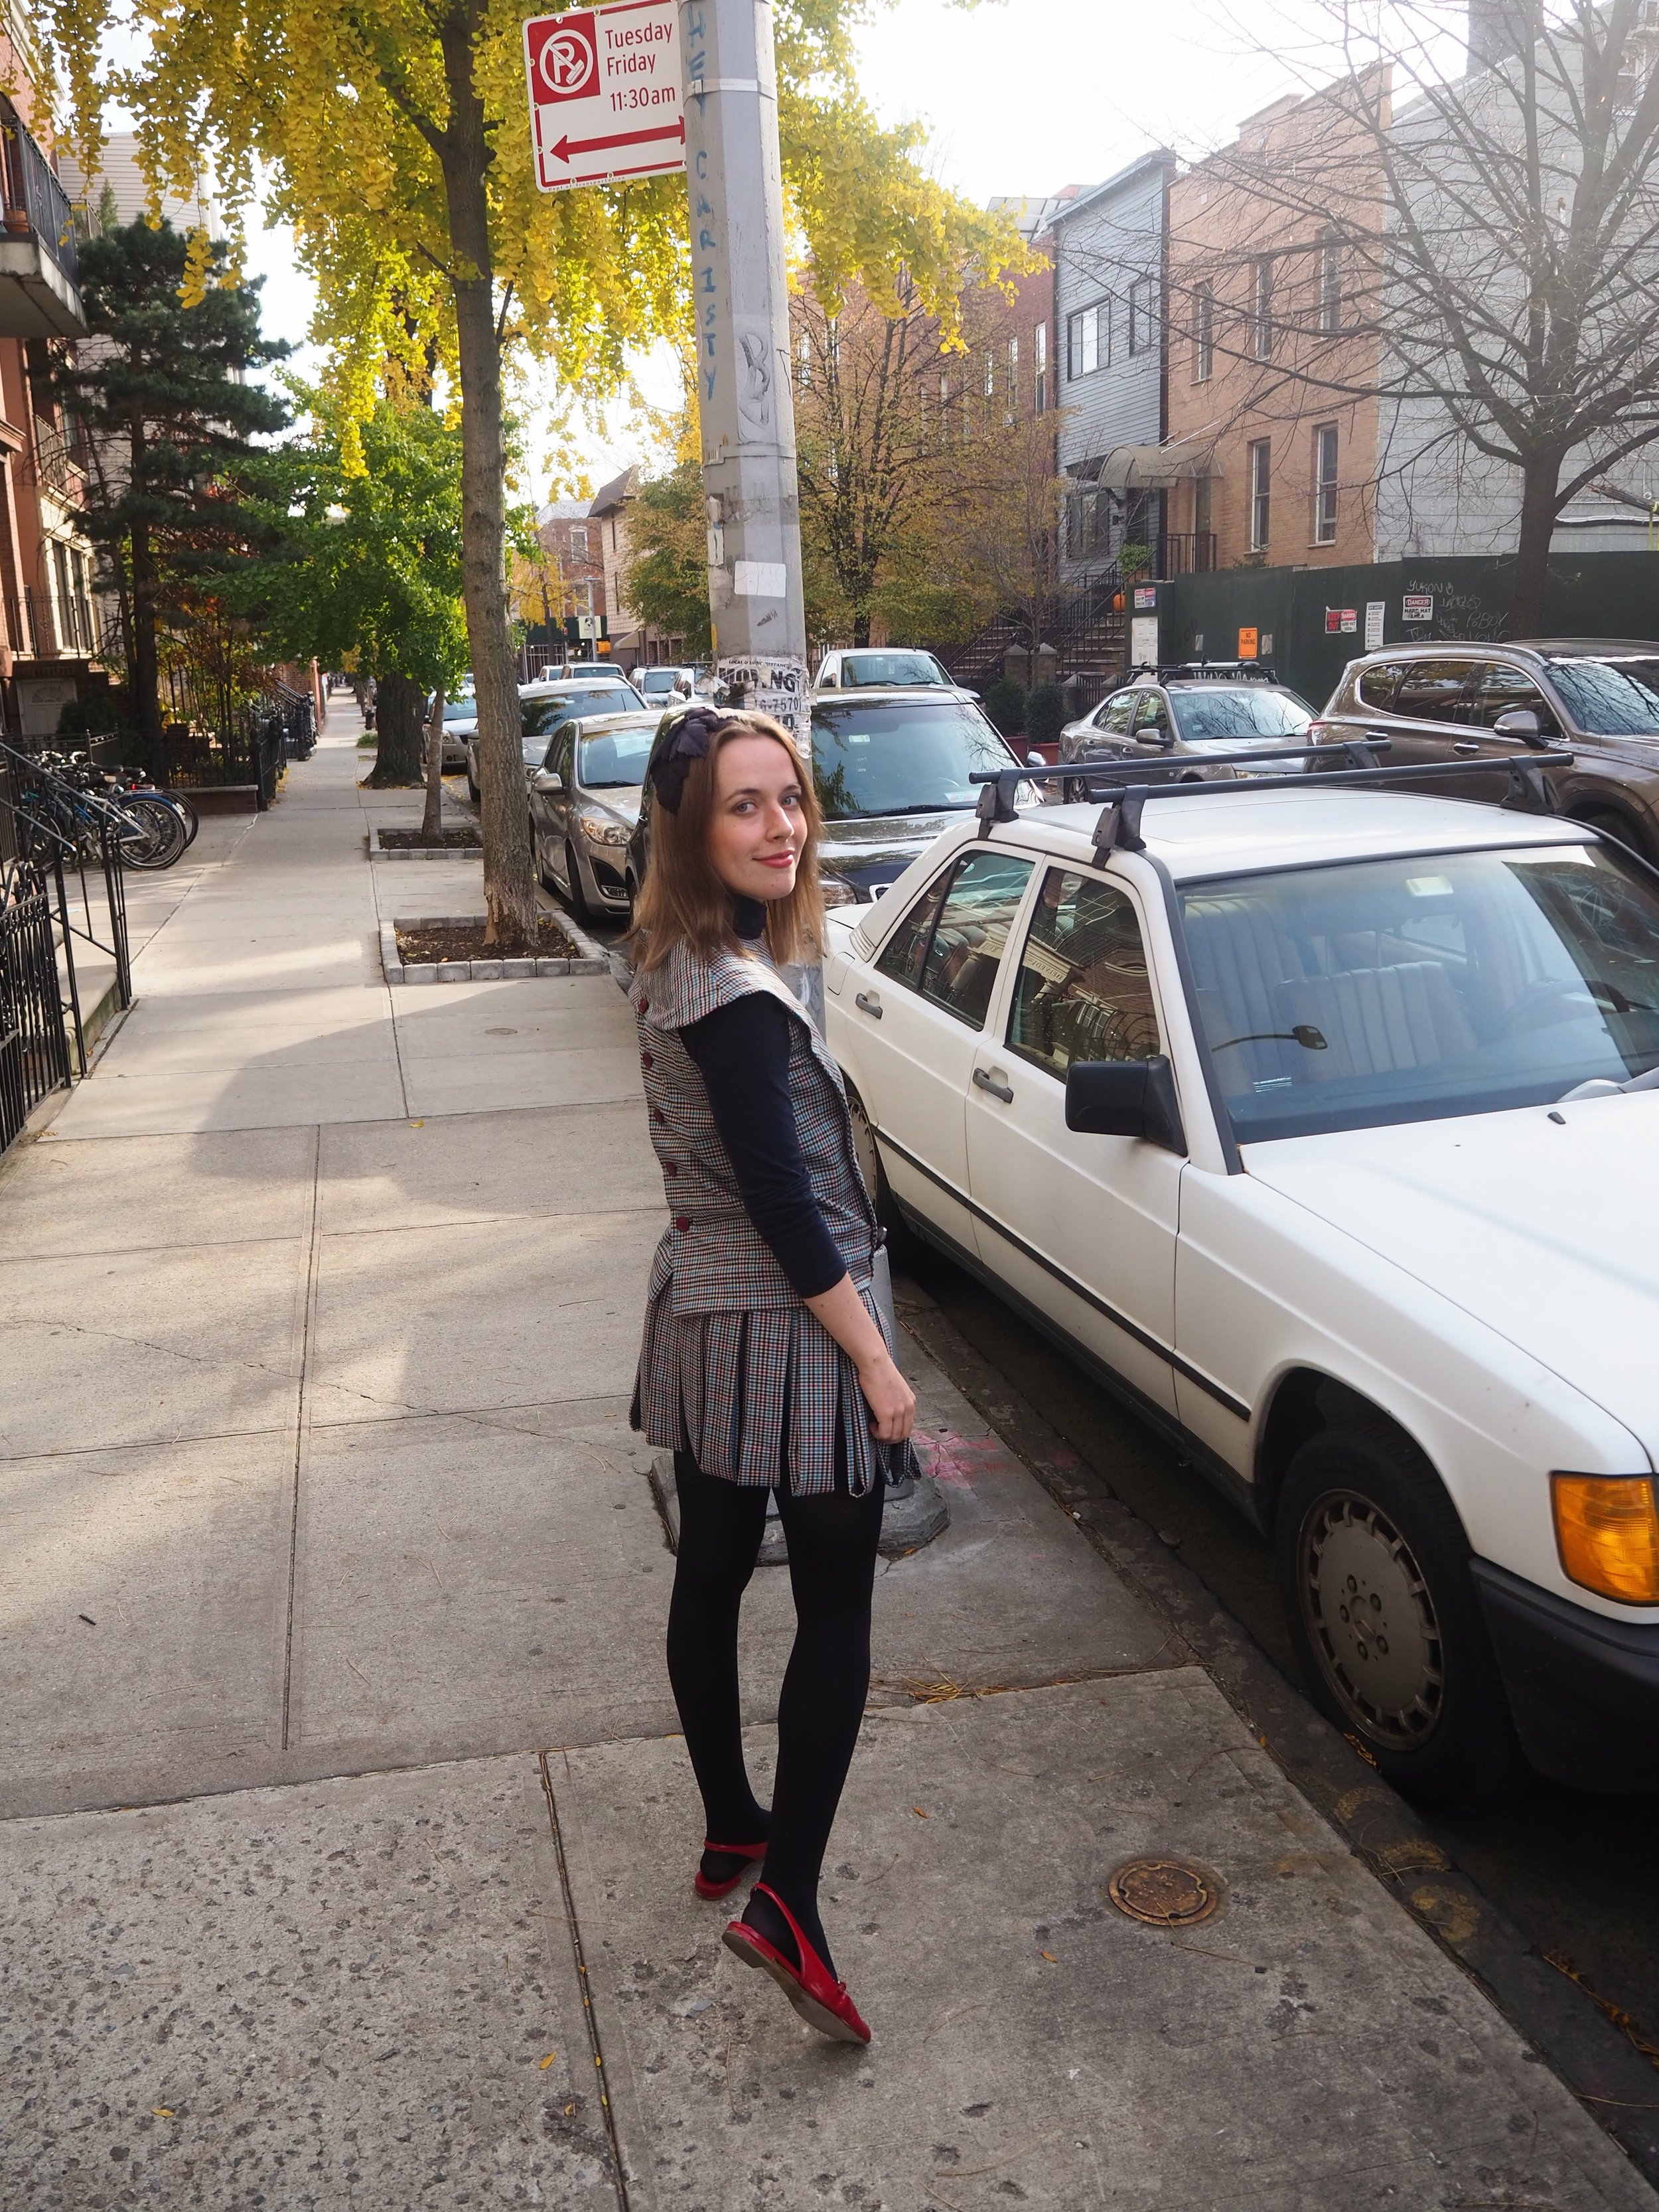
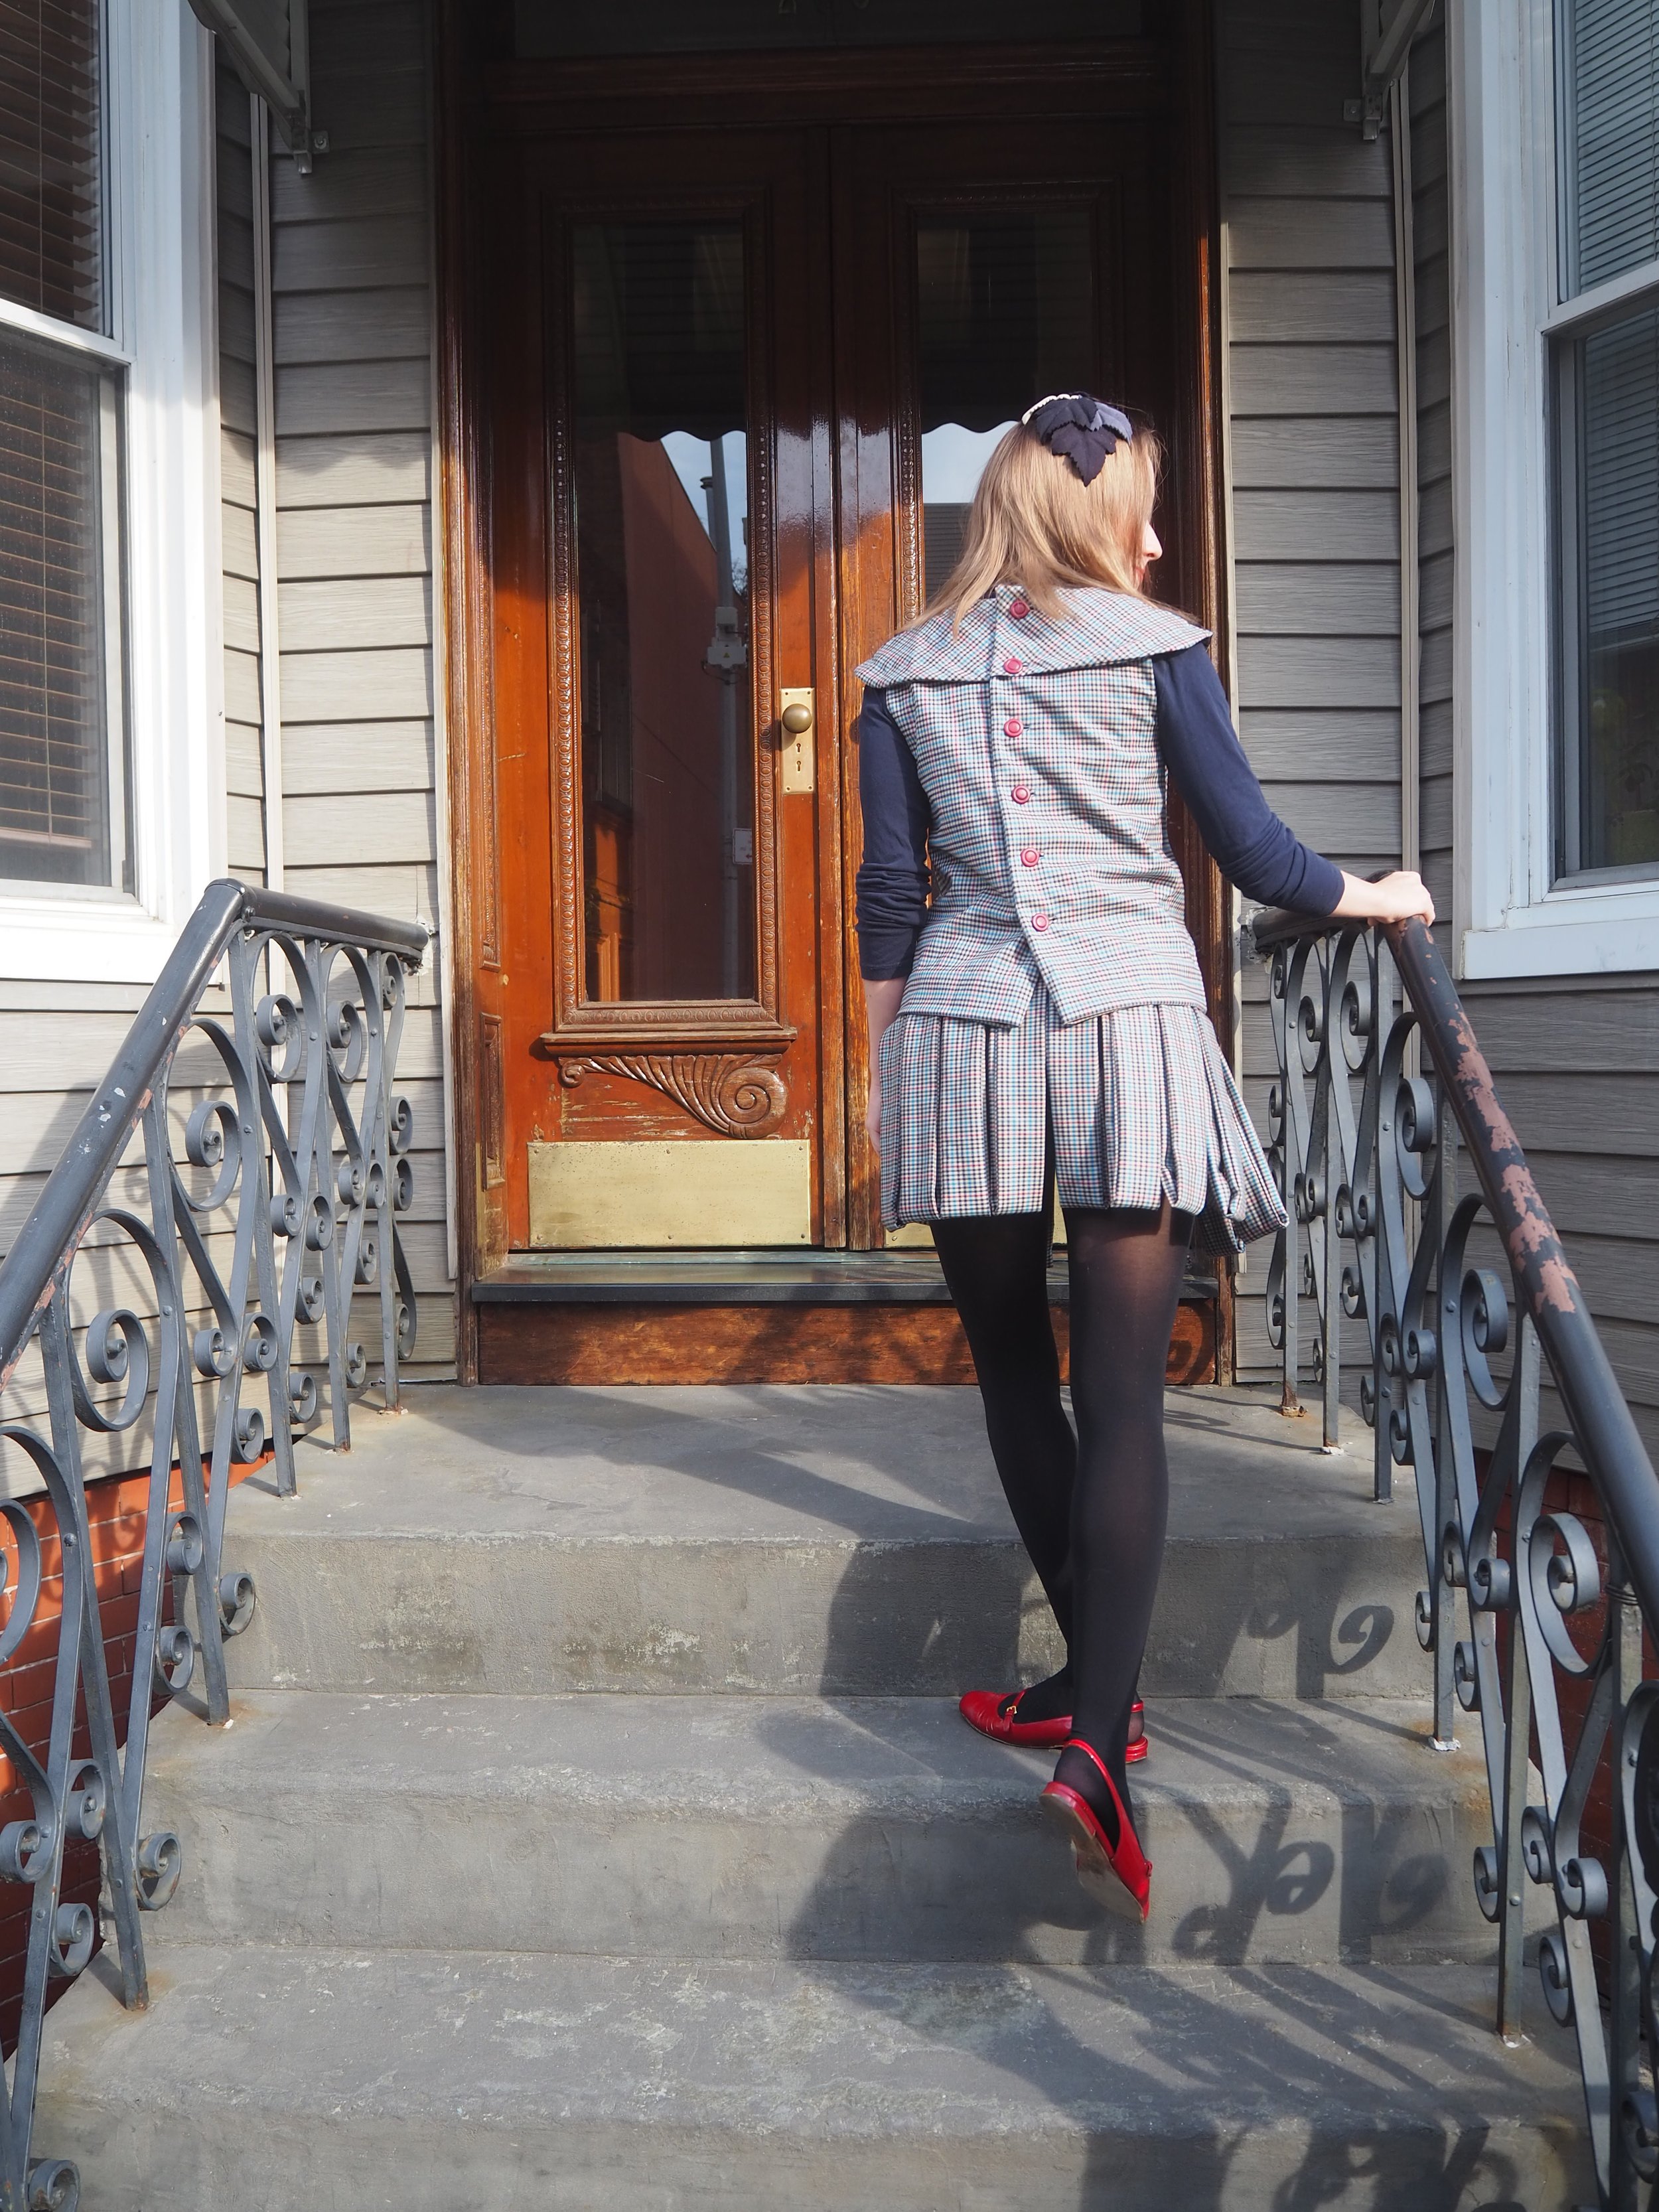

Photos of the back and just one silly self timer photo of the front, I just love the back more.
Happy Thanksgiving, I am so proud of this little outfit and thank you for reading my blog. OK, bye, until next time.